(Fake) Free-Aim
Warning: This will make your game look weird and/or bad. Use at your own risk.
This is a *Fake* Free-Aim effect created with ReShade. It’s not perfect, but it is kind of fun for a minute.
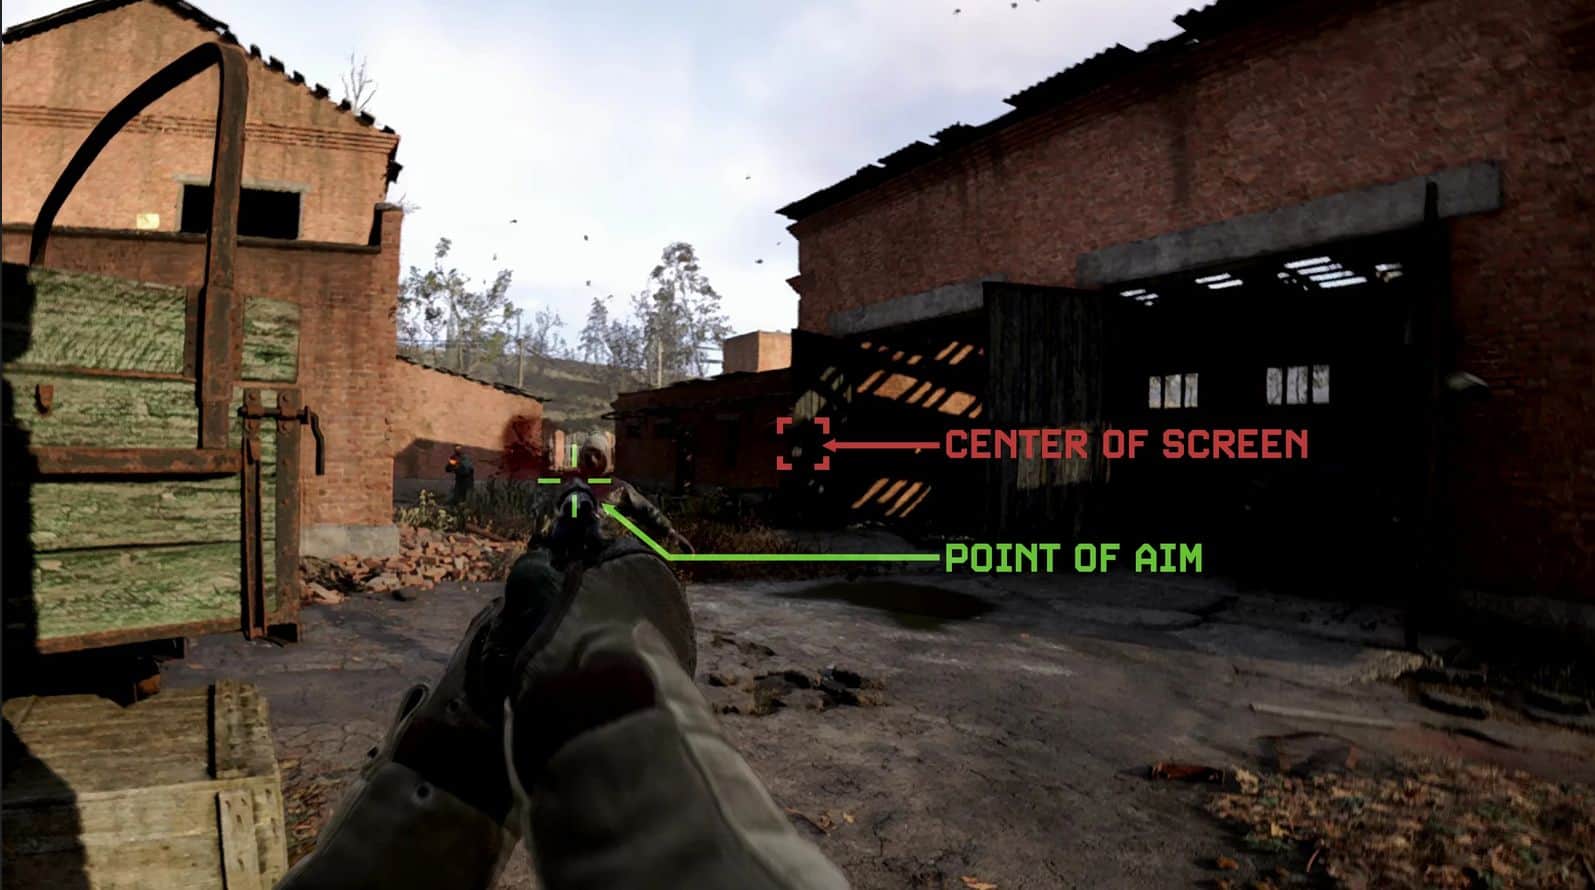
“Free-Aim” means that your point of aim will no longer be locked to the center of your screen.
How it works is kind of silly:
It uses a “Bulge/Pinch” shader to zoom in on different parts of the screen depending on where your mouse is. You’ll need your FOV cranked WAY ABOVE NORMAL for this to look right. That’s why the “Perfect Perspective” shader is there–to fix high FOV distortion when you look at the edges of the screen.
There’s also a basic UIMask Included so you can still use your HUD.
DEFAULT KEYBINDS
‘HOME’ – Open ReShade Overlay
‘UP ARROW’ – Toggle Free-Aim Effects
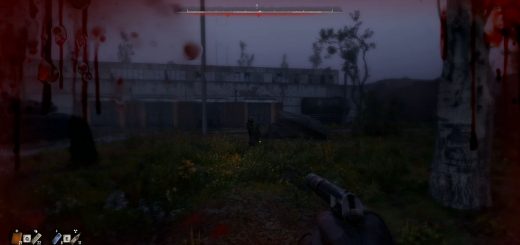
‘DOWN ARROW’ – Toggle “Laser” Aiming Reticle
‘NUMPAD 0’ – Toggle All Effects
SOME NOTES
-This is not a real modded feature–only a visual trick. Please look up ReShade if you’re not familiar with it.
-This will cause some stuttering on mouse movements (seems to be a slight desync between ReShade and the game itself regarding mouse position)
-This will degrade your resolution/image quality
-You’ll need to toggle the effect off manually to use your inventory (or any menus at all)
-This will require FOV modification. The higher the better (within reason). You probably already have Simple ModLoader and Console Enabler–you can increase FOV past 110 with that. But I recommend using Flawless Widescreen as it allows you to also adjust Weapon FOV
-If you do use Flawless Widescreen, cranking both FOV and Weapon FOV settings to maximum might make your held weapon’s model switch to a lower quality LOD model. If you start seeing polygons, try reducing Weapon FOV by a couple points
-Those slick HUD textures in the video demo are NOT included. They are part of Petey’s Clean UI.
INSTALLATION
To use this preset, you’ll need to install ReShade yourself.
TO INSTALL (STEAM):
-Run ReShade installer, select Stalker2-Win64-Shipping.exe*
-To keep things simple, select ALL effects when prompted by the ReShade installer
-Once ReShade is installled, drag the contents of the preset’s zip file to the usual place: …\S.T.A.L.K.E.R. 2\Stalker2\Binaries\Win64
-When prompted, replace all files
*IF USING GAME PASS:
I can’t personally confirm that this works, but I’ve seen comments suggesting to NOT SELECT “Stalker2-WinGDK-Shipping.exe” when installing ReShade and to instead select “gamelaunchhelper.exe” found in your …/S.T.A.L.K.E.R. 2/Content folder.


