
GAS MASKS OF THE ZONE
Comprehensive gas masks and night vision visual overhaul for STALKER 2.
GAS MASKS OF THE ZONE is a modified stand alone version I made of the gasmasks and night vision features from COLD LIGHT: PHOTOREALISTIC ZONE,
for those who -for unknown reason- don’t use this mod, but would still love more immersion in STALKER 2.
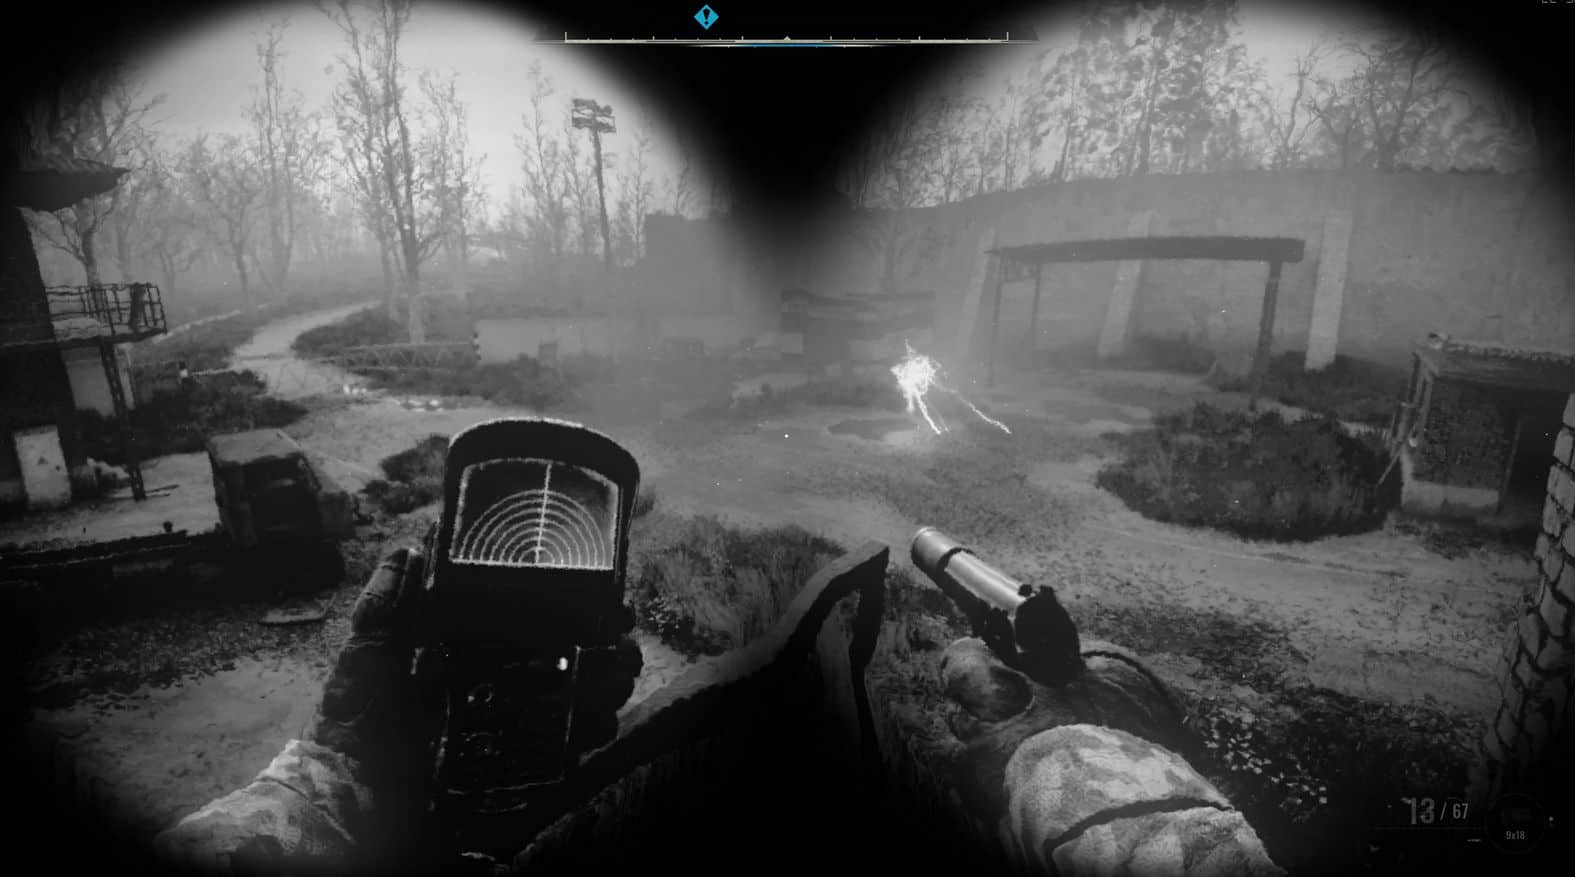
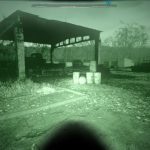
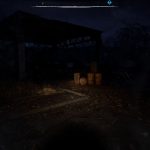
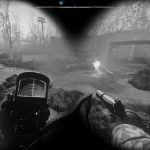
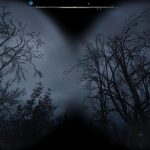
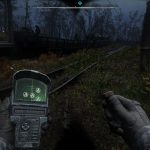
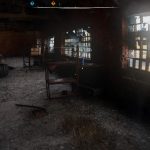
It features 6 MASK OVERLAYS based on all STALKER 2 helmets and armors types with advanced effects such as glass refraction, haze & tinting,
as well as 5 NIGHT VISIONS settings based on previous STALKER games NVGs and upgrades system.
All is done with custom made code and assets using ReShade framework and all the shaders are applied below the game’s UI and HUD elements.
It can be used on its own or added on top of another ReShade.
INSTALLATION:
Step1: Download the file and extract the content of “01_GMZ MAIN FILES” folder into your:
>> S.T.A.L.K.E.R. 2\Stalker2\Binaries\Win64 folder, where Stalker2-Win64-Shipping.exe is located. Accept overwrite if asked.
Step2: For those who don’t have any ReShade installed, drag and drop the content of the “02_StandAlone” folder into your Win64 folder; just like in step 1.
IMPORTANT:
Use FSR3 Framegen instead of DLSS framegen: DLSS Framegen is buggy with reshade and will either crash the game or flicker the UI.
If you absolutely need to use DLSS framegen, then delete “ReshadeEffectShaderToggler.addon64” that comes with my mod.
Deleting this addon will make the reshade affects the HUD and UI of the game.
Performance hit should be very low, but just in case there is also performance options as seen below.
CONFIGURATION & CUSTOMIZATION:
For those who installed on top of another ReShade, shader techniques to enable are named GMZ_I_NIGHTVISION and GMZ_II_GASMASKS,
Right click the Technique name to add your own shortcut key to toggle them ingame.
For those who installed the Stand-Alone, Toggle Night Vision with N key and toggle GasMasks with DEL Key. See above if you want to change the shortcut.
Stand Alone users can open the ReShade menu with END key.
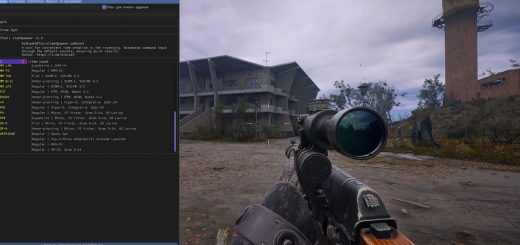
From the bottom left tab can be found the GMZ.fx shader settings to configure.
Mouse over the setting to read the tooltip about each effects:
MASK ARMOR TYPES: Shape of the mask based on STALKER 2 helmets and armors. Tool-tip tells you the corresponding helmets & armors.
MASK-ARMOR CONDITION: Condition and quality of the mask’s glass. Performance mode disables this feature.
USE REFRACTION: Enable glass distortion of the image. Each mask has its own refraction.
GLASS TINT: Color gradient of the mask’s glass. Helmet’s glass seem to be tinted ingame, so I guessed why not adding a few lines for this.
NIGHT VISION TYPE: Set of different Night Vision based on previous STALKER games NVGs and upgrade system. Digitals are black & white.
PERFORMANCE MODE:
If you are too short on performances and prefer FPS over visual quality, Set the PERFORMANCE_MODE_MASKS and/or PERFORMANCE_MODE_NVG options
to 1 to disable some effect and lines of code. This would save you some FPS at the expense of visual features.
*: UI pictures from Cold Light: PhotoRealistic Zone. Some options may look different in this release, but you’ll get it.

