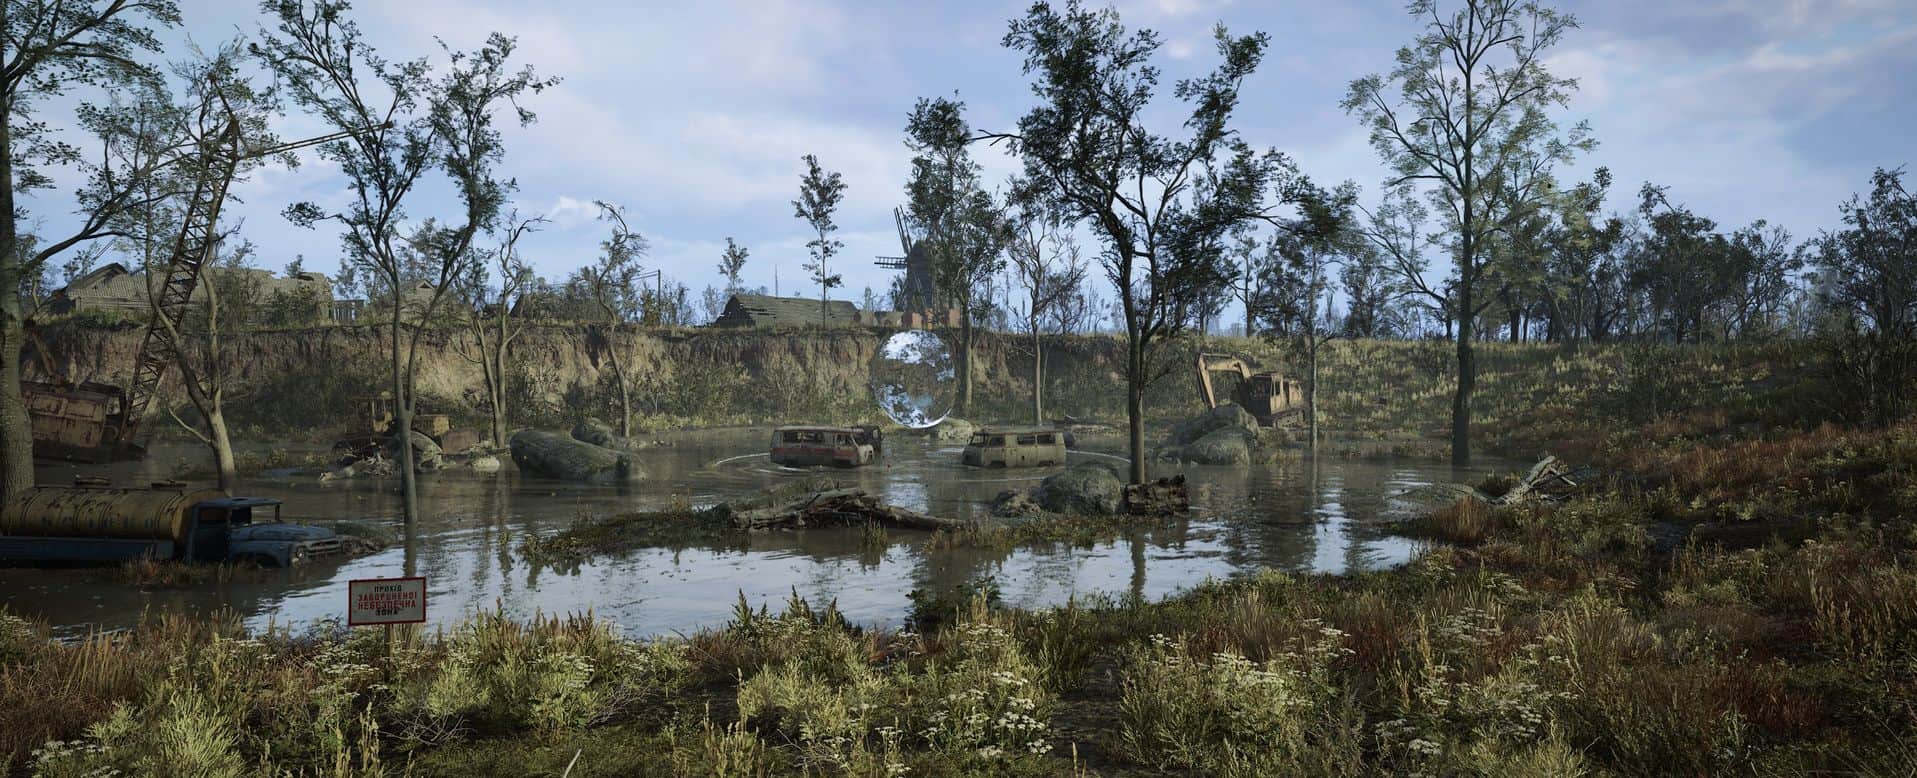
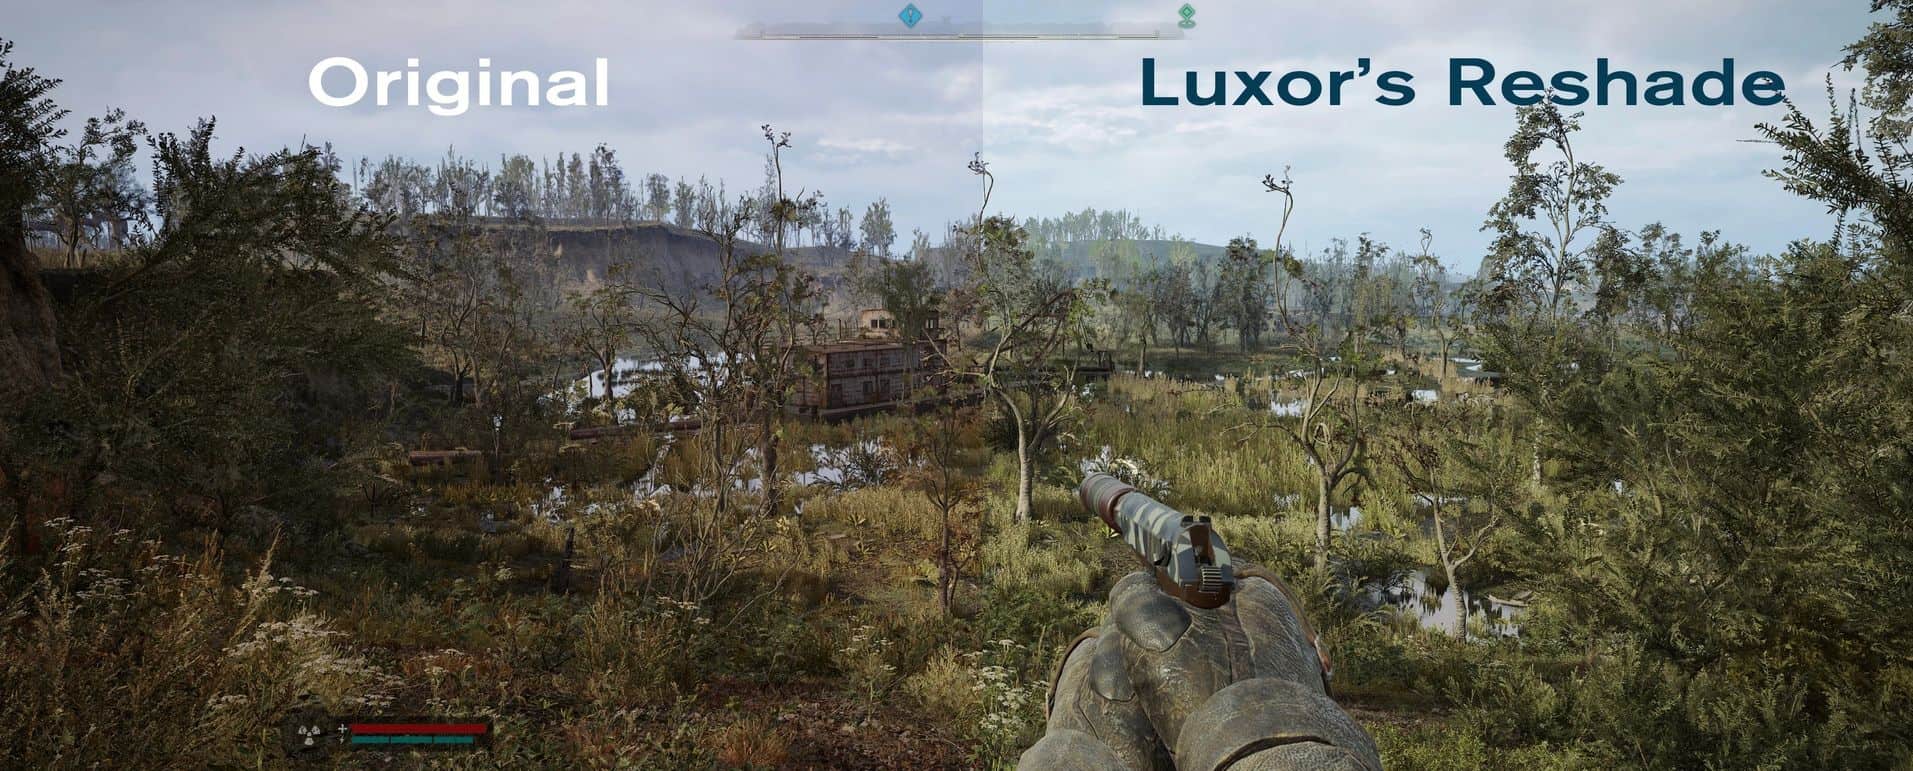

Luxor’s Reshade
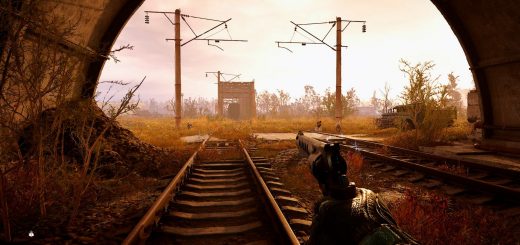
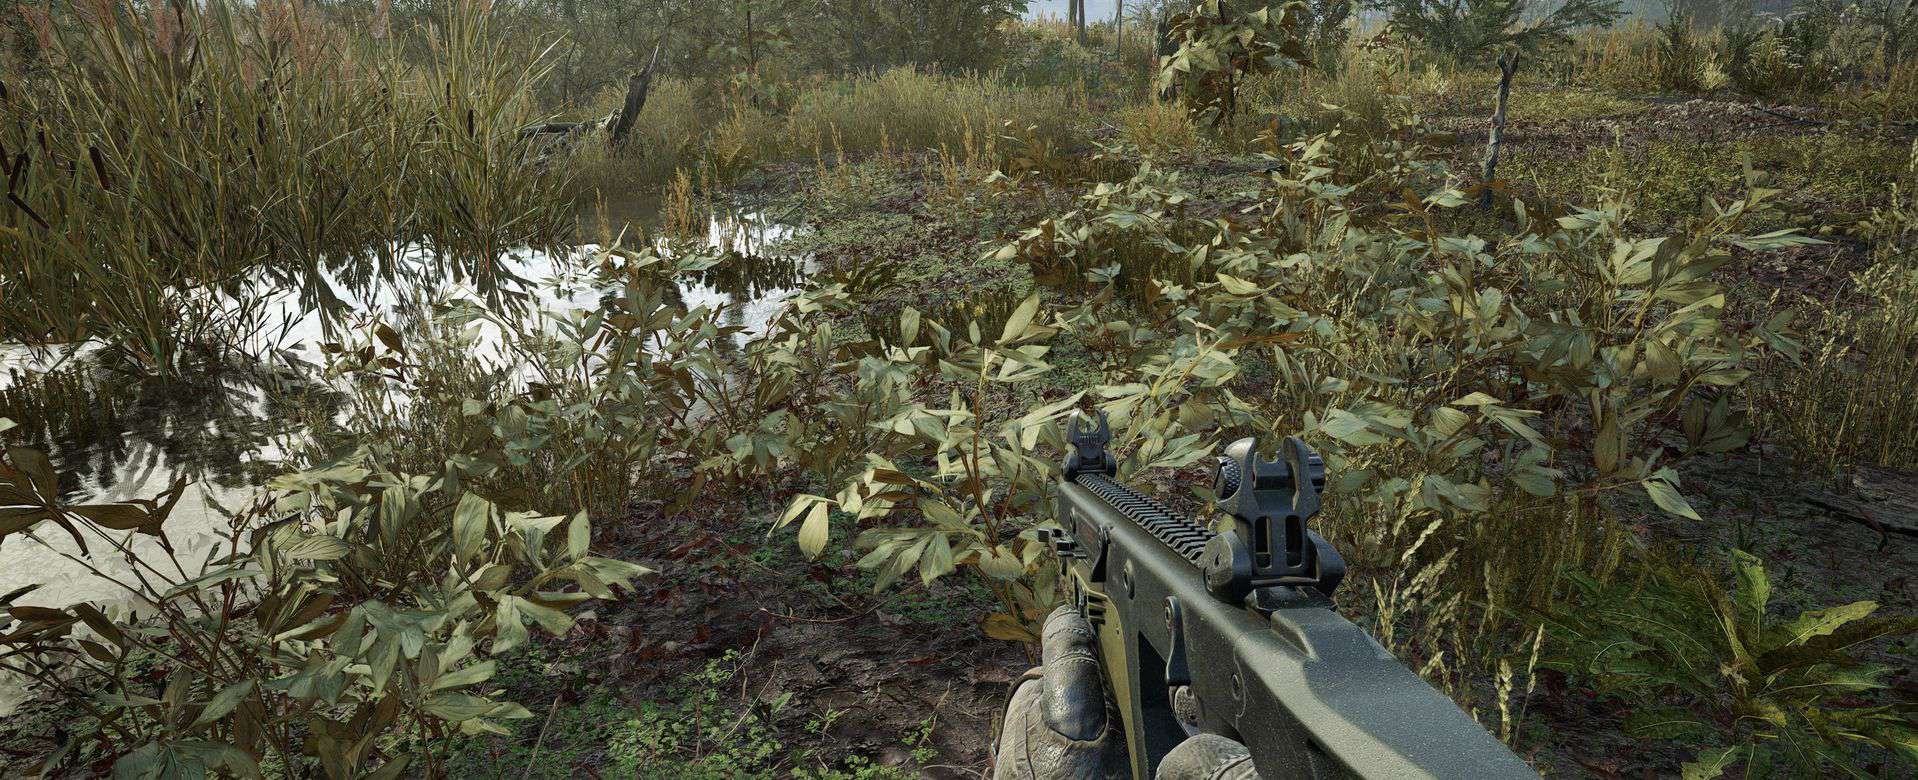
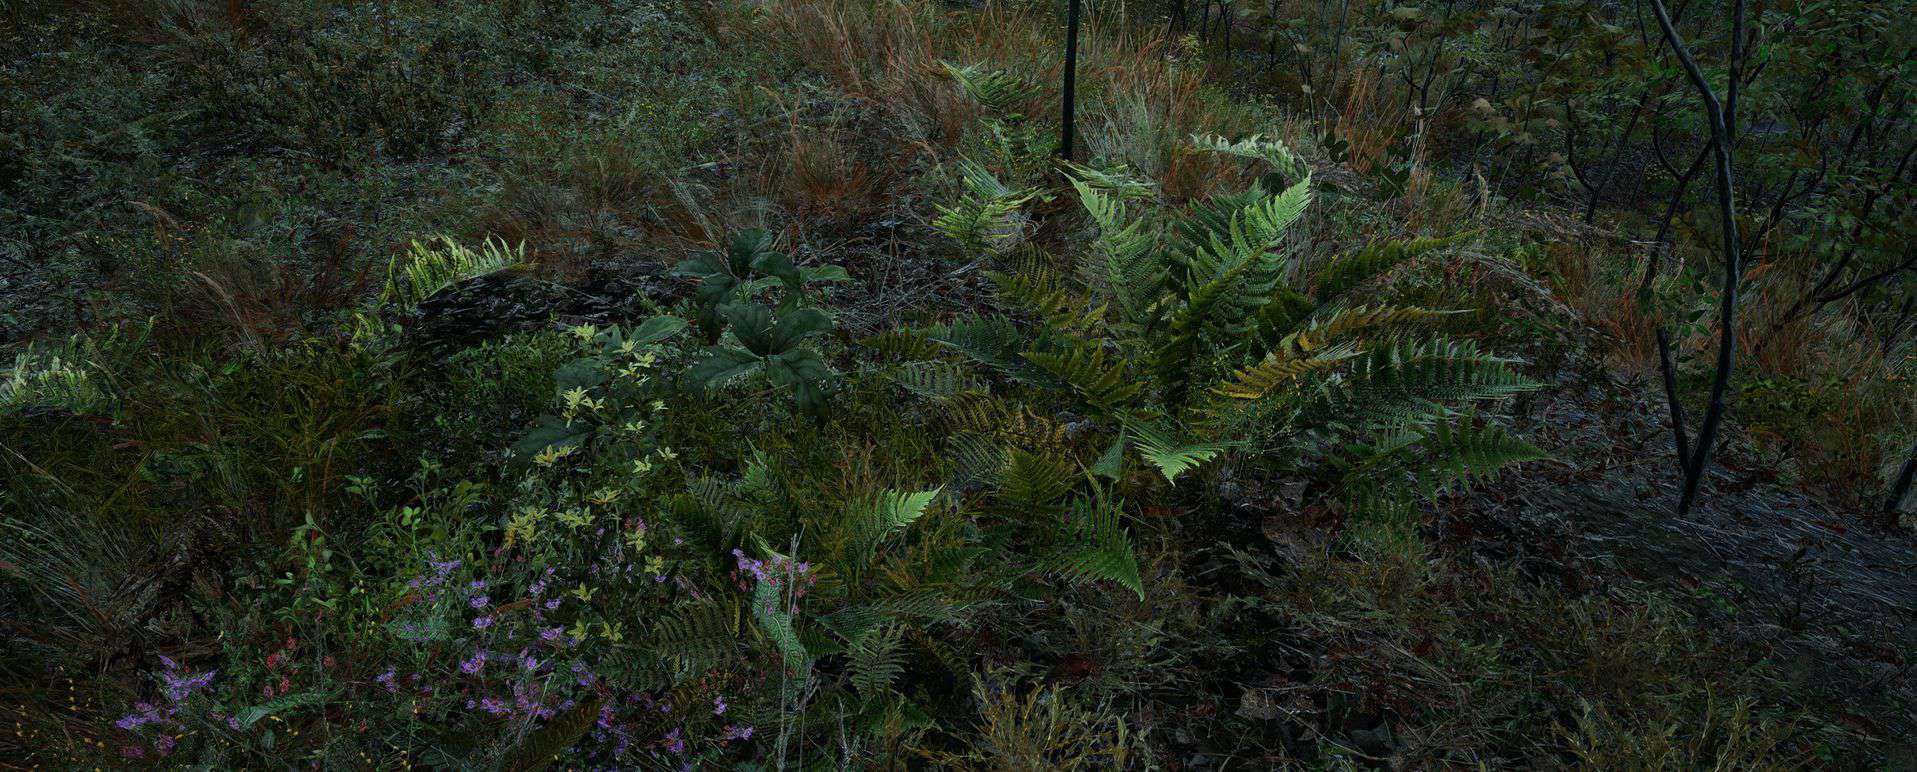
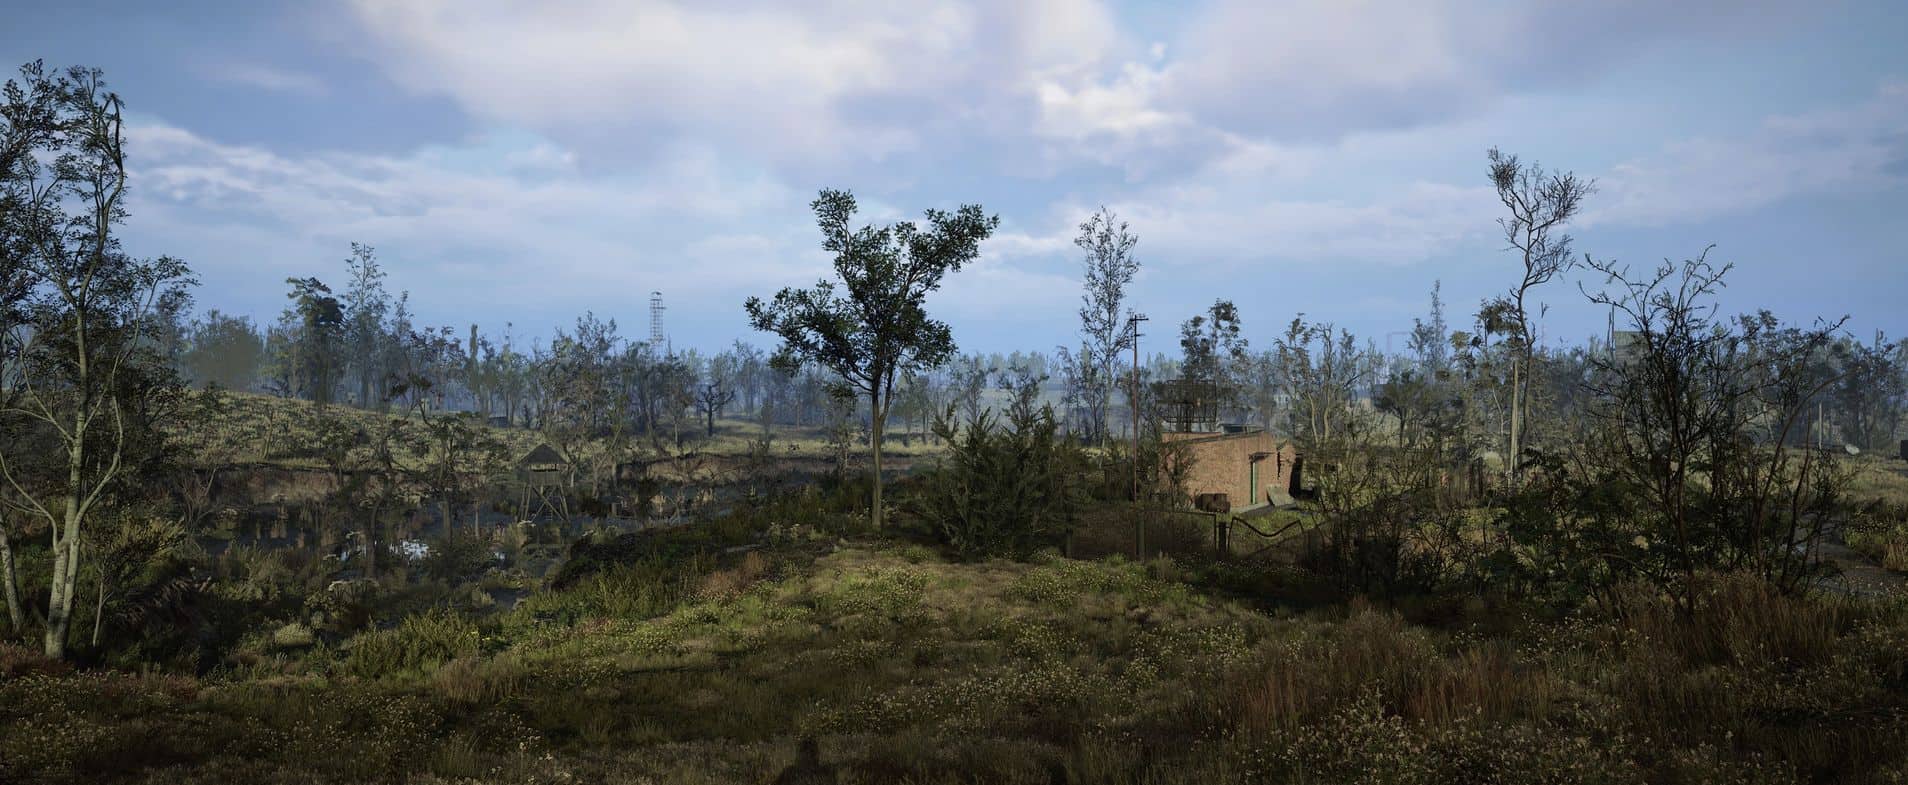
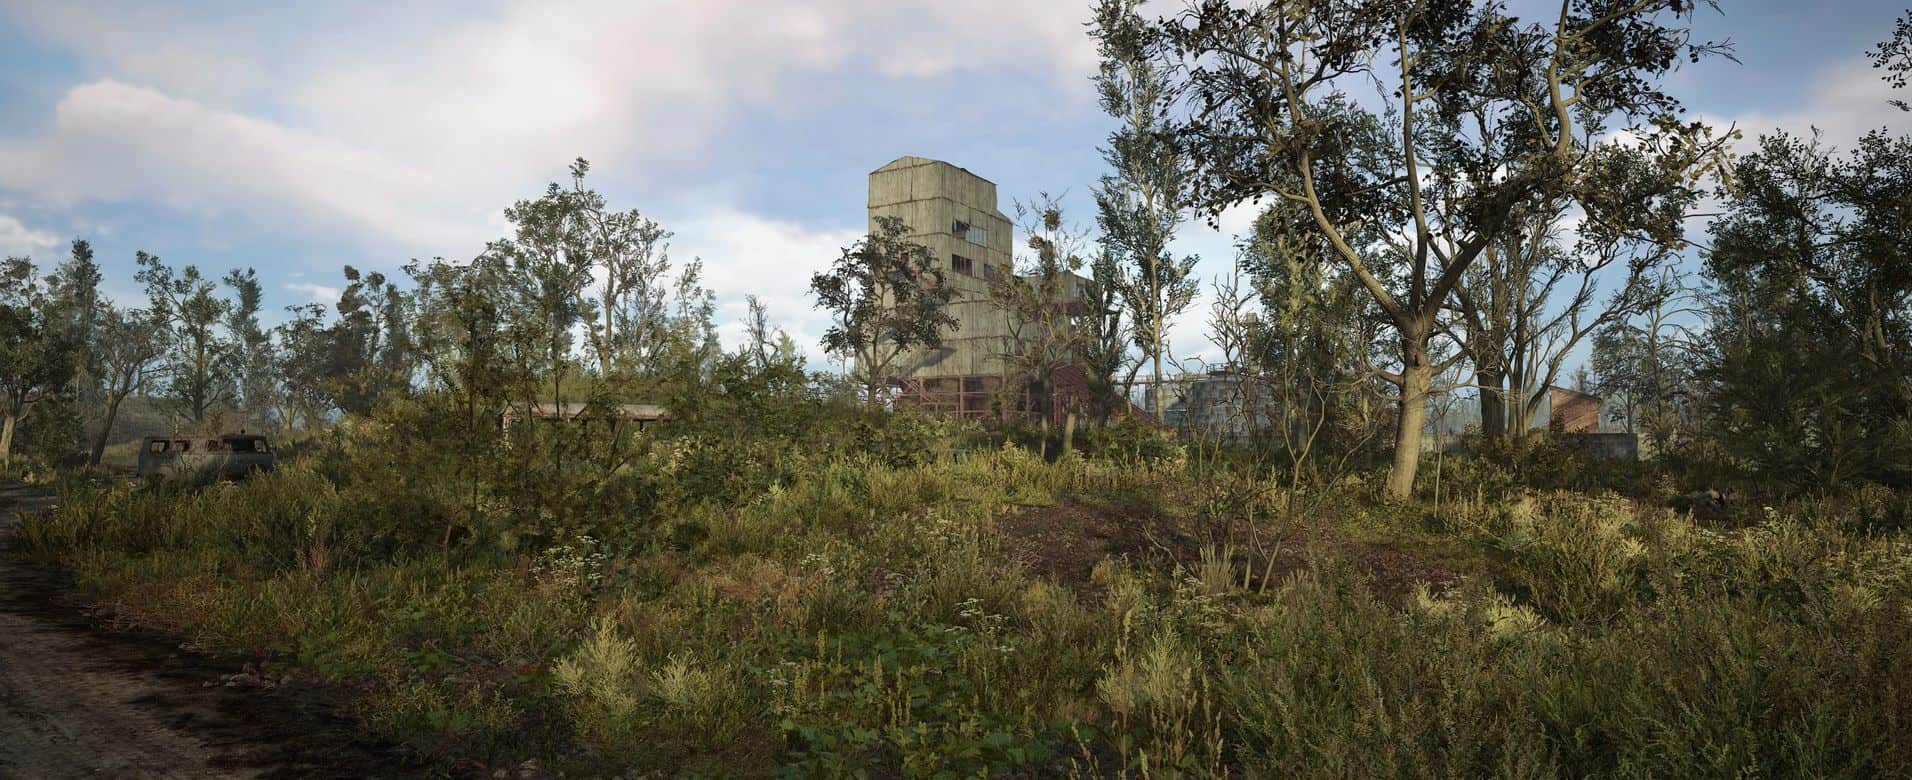
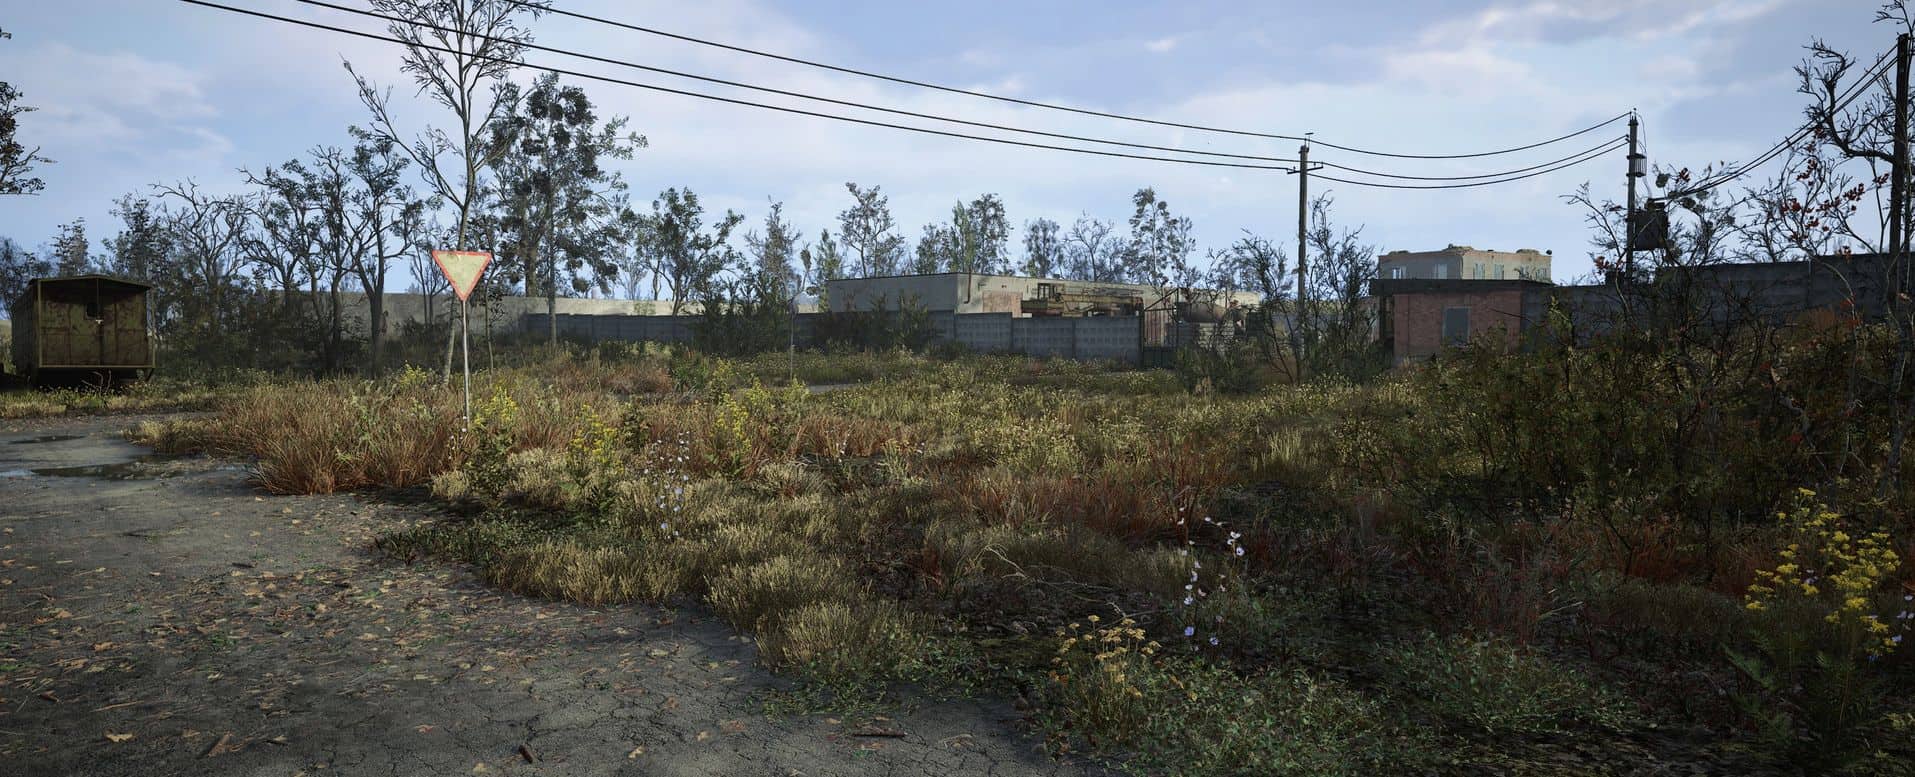
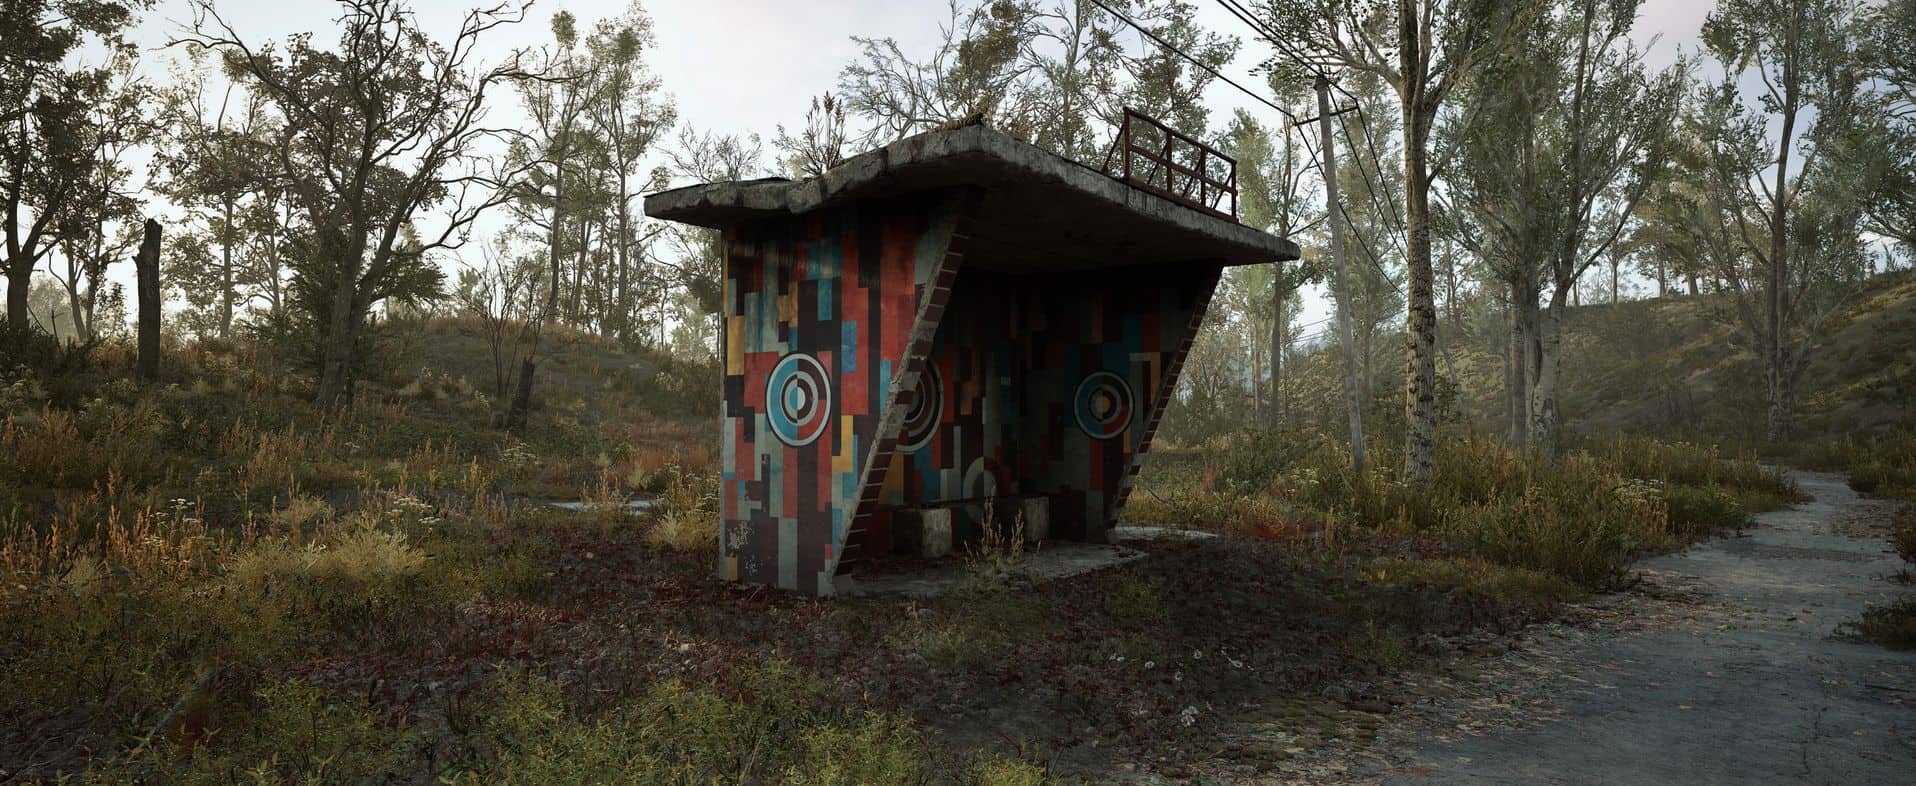
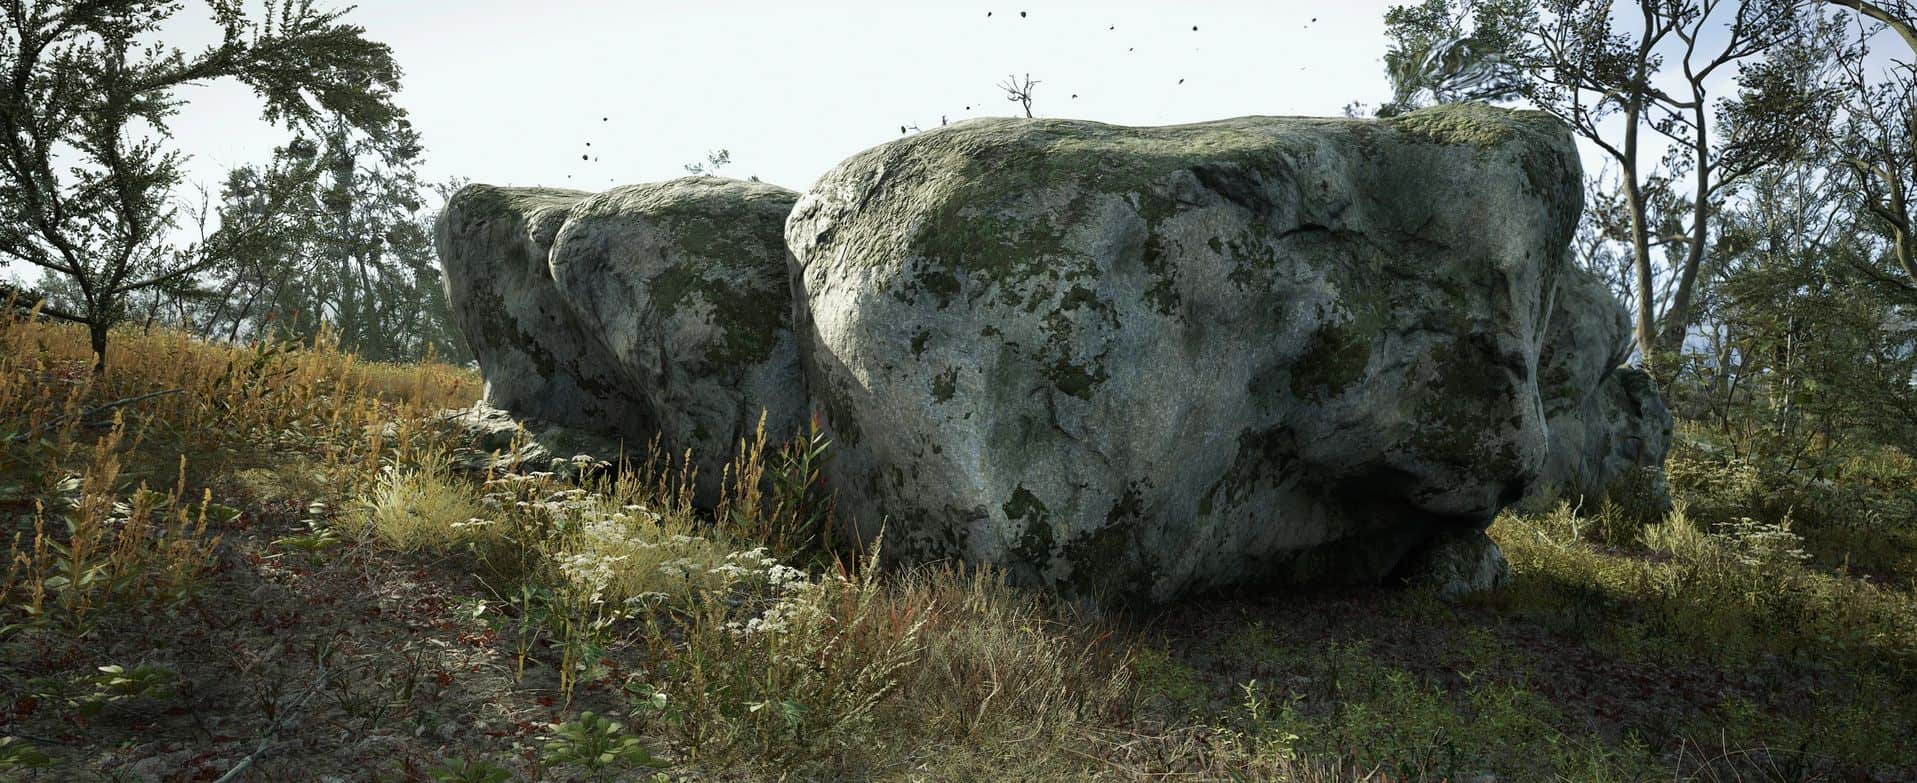
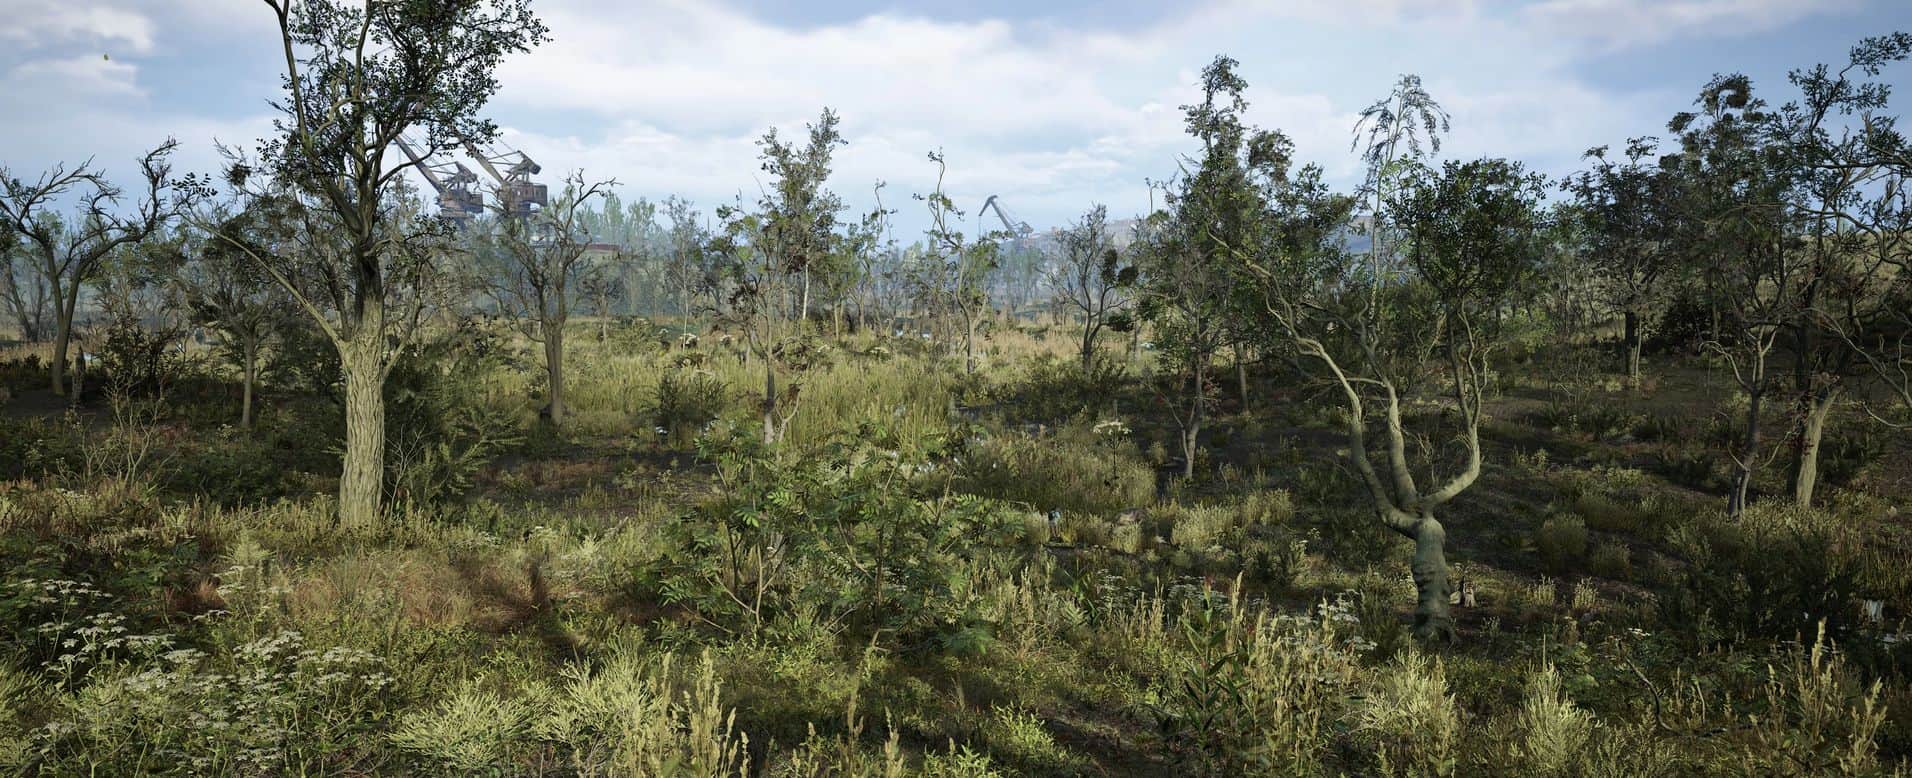
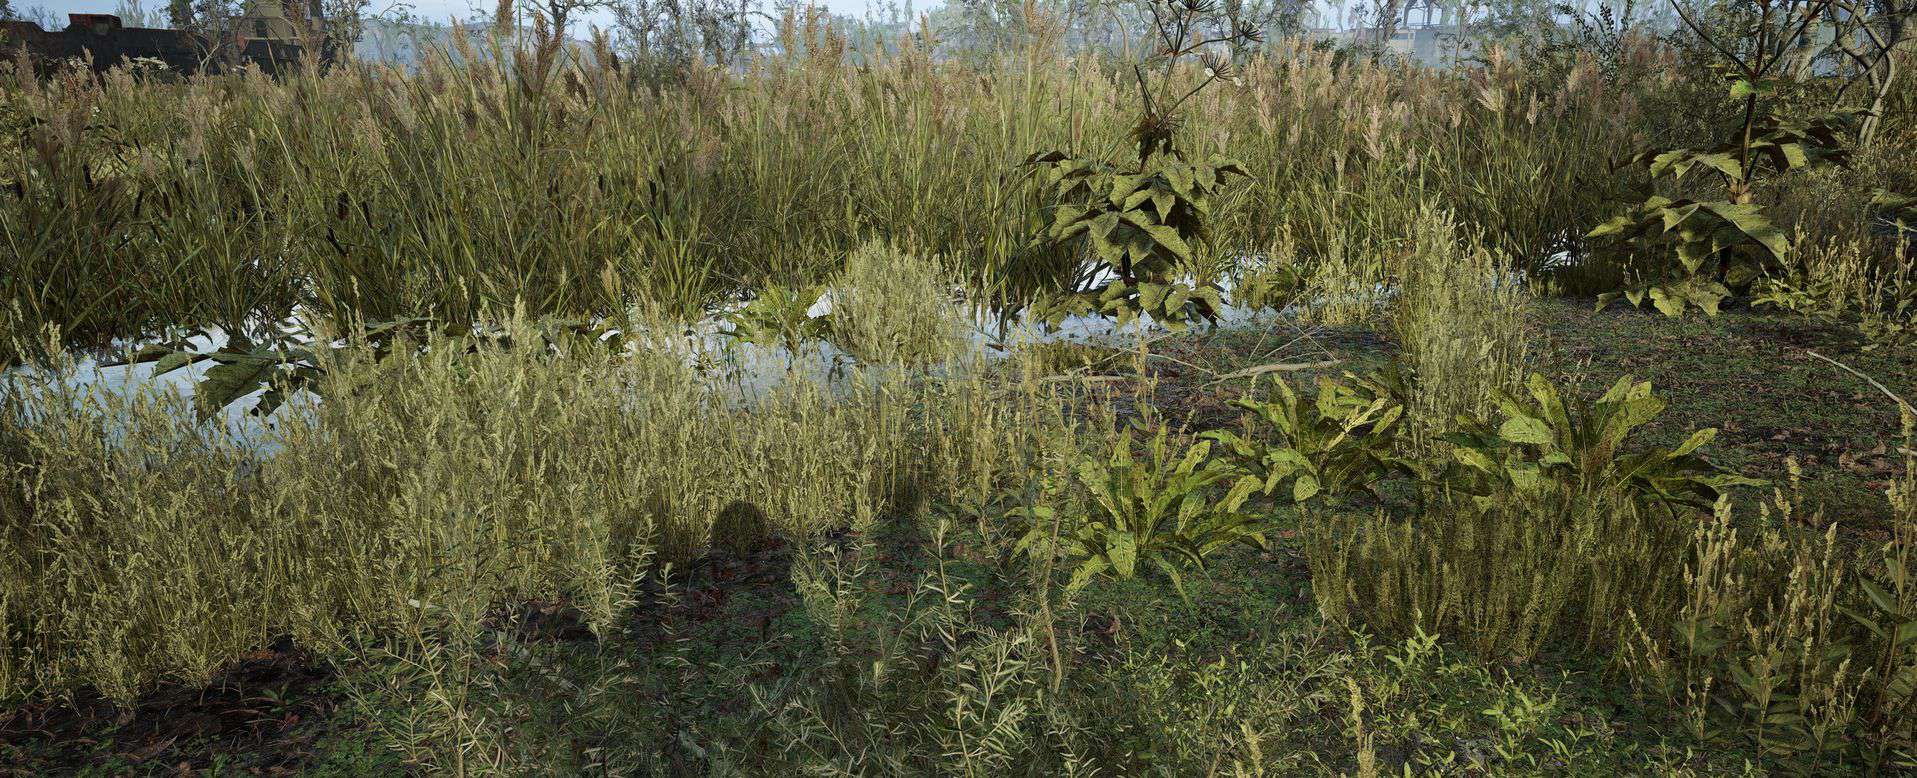
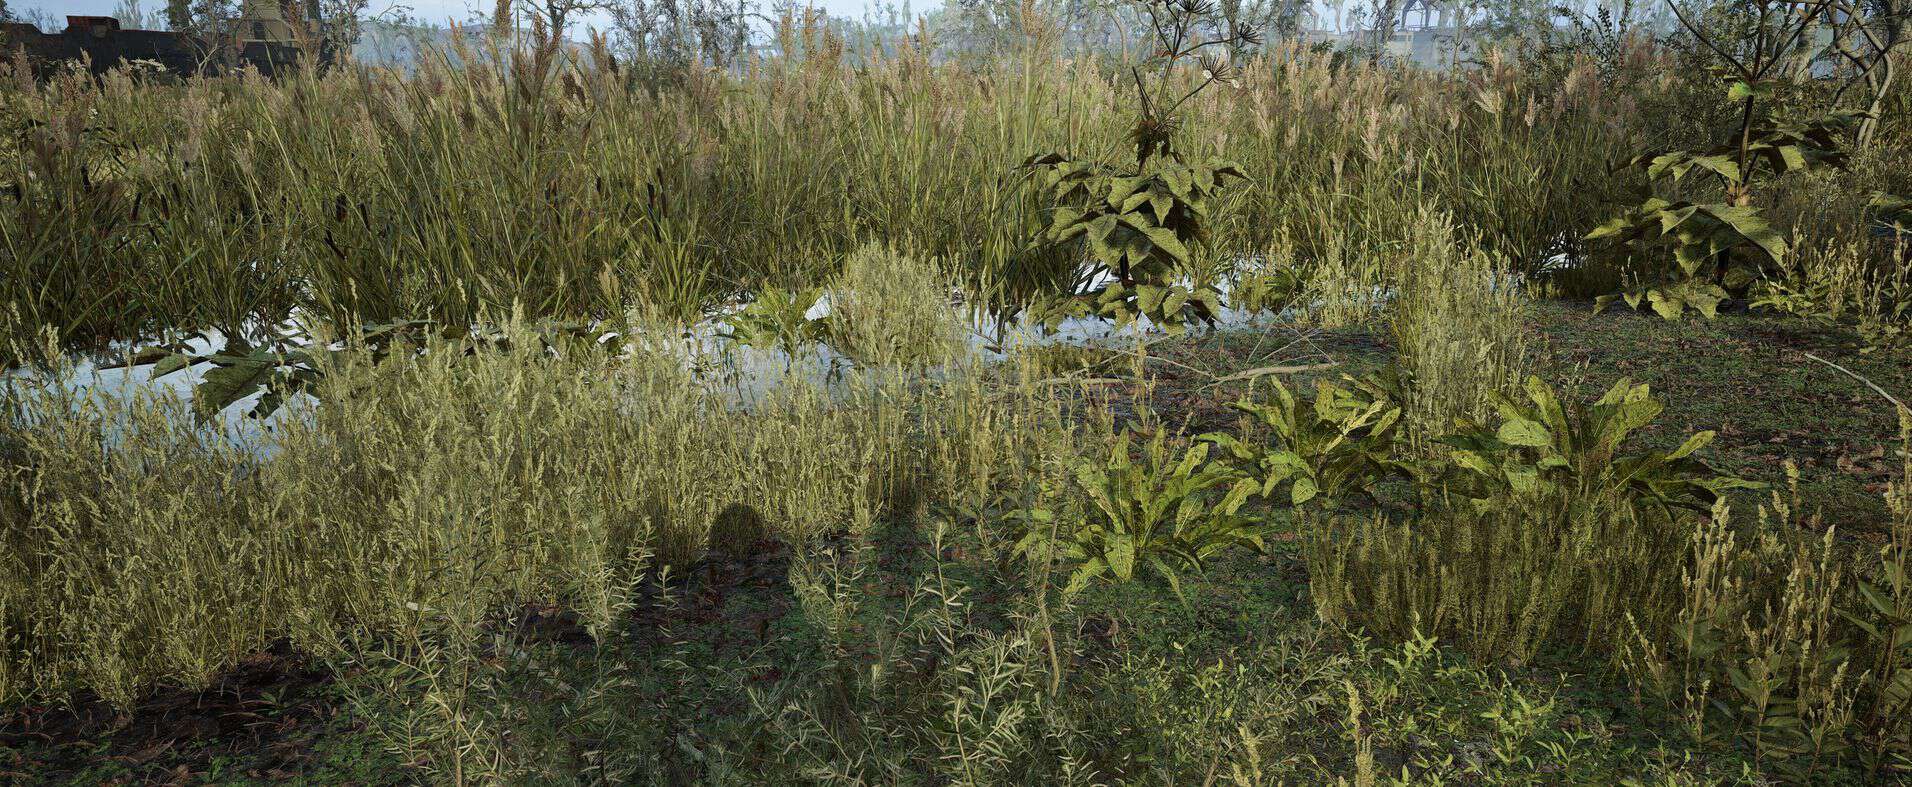
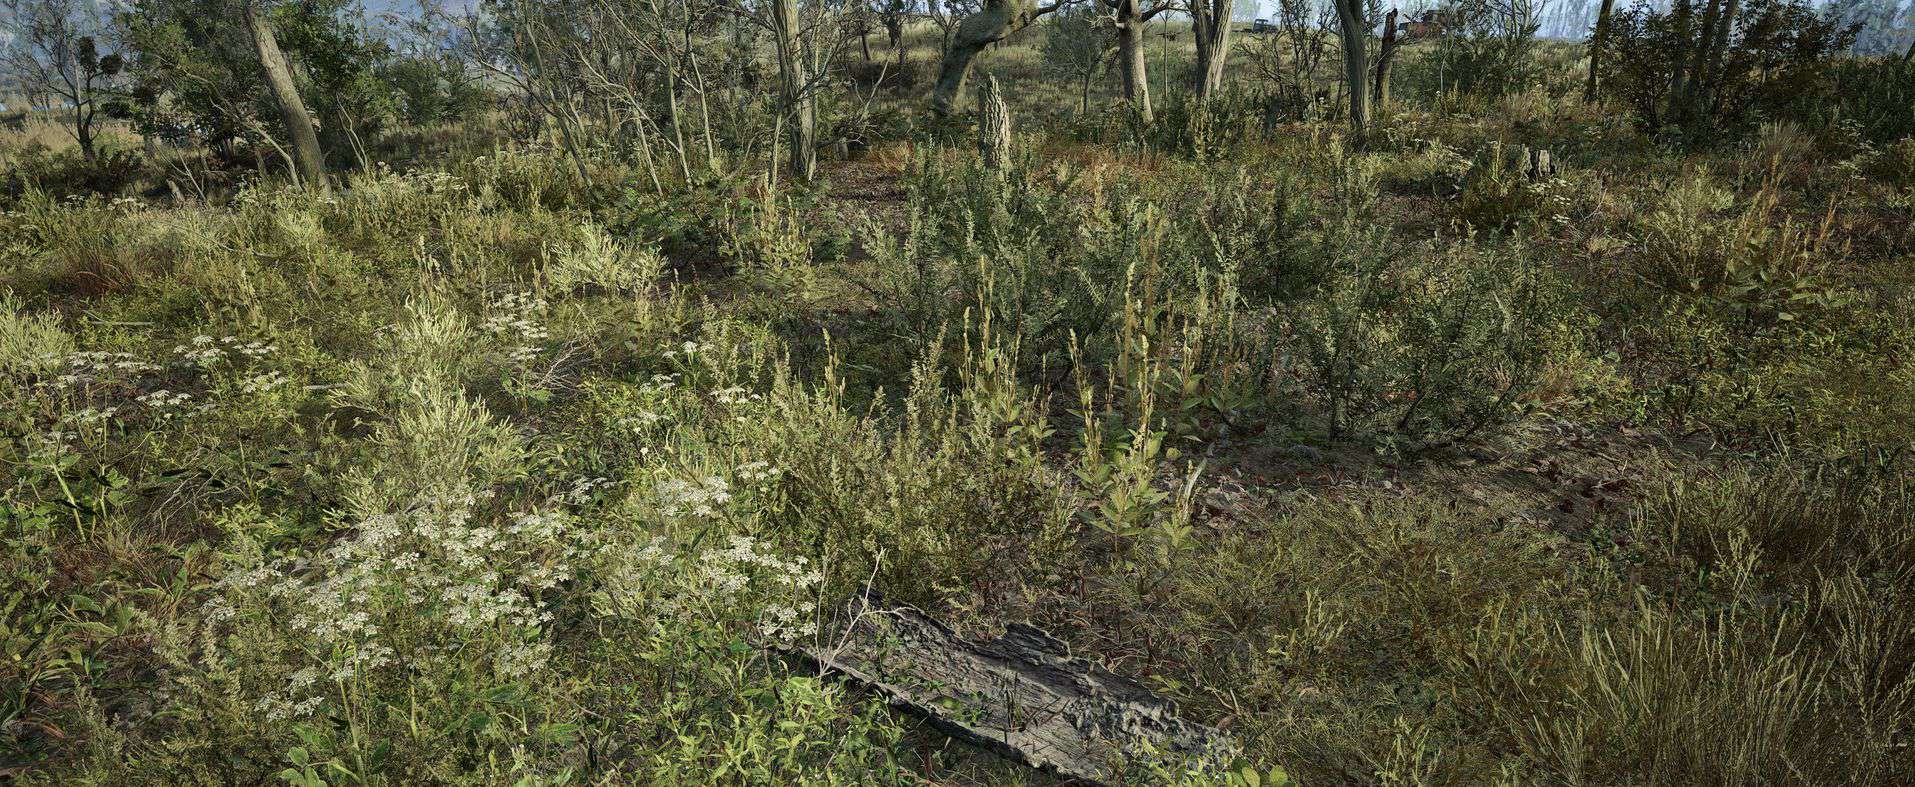
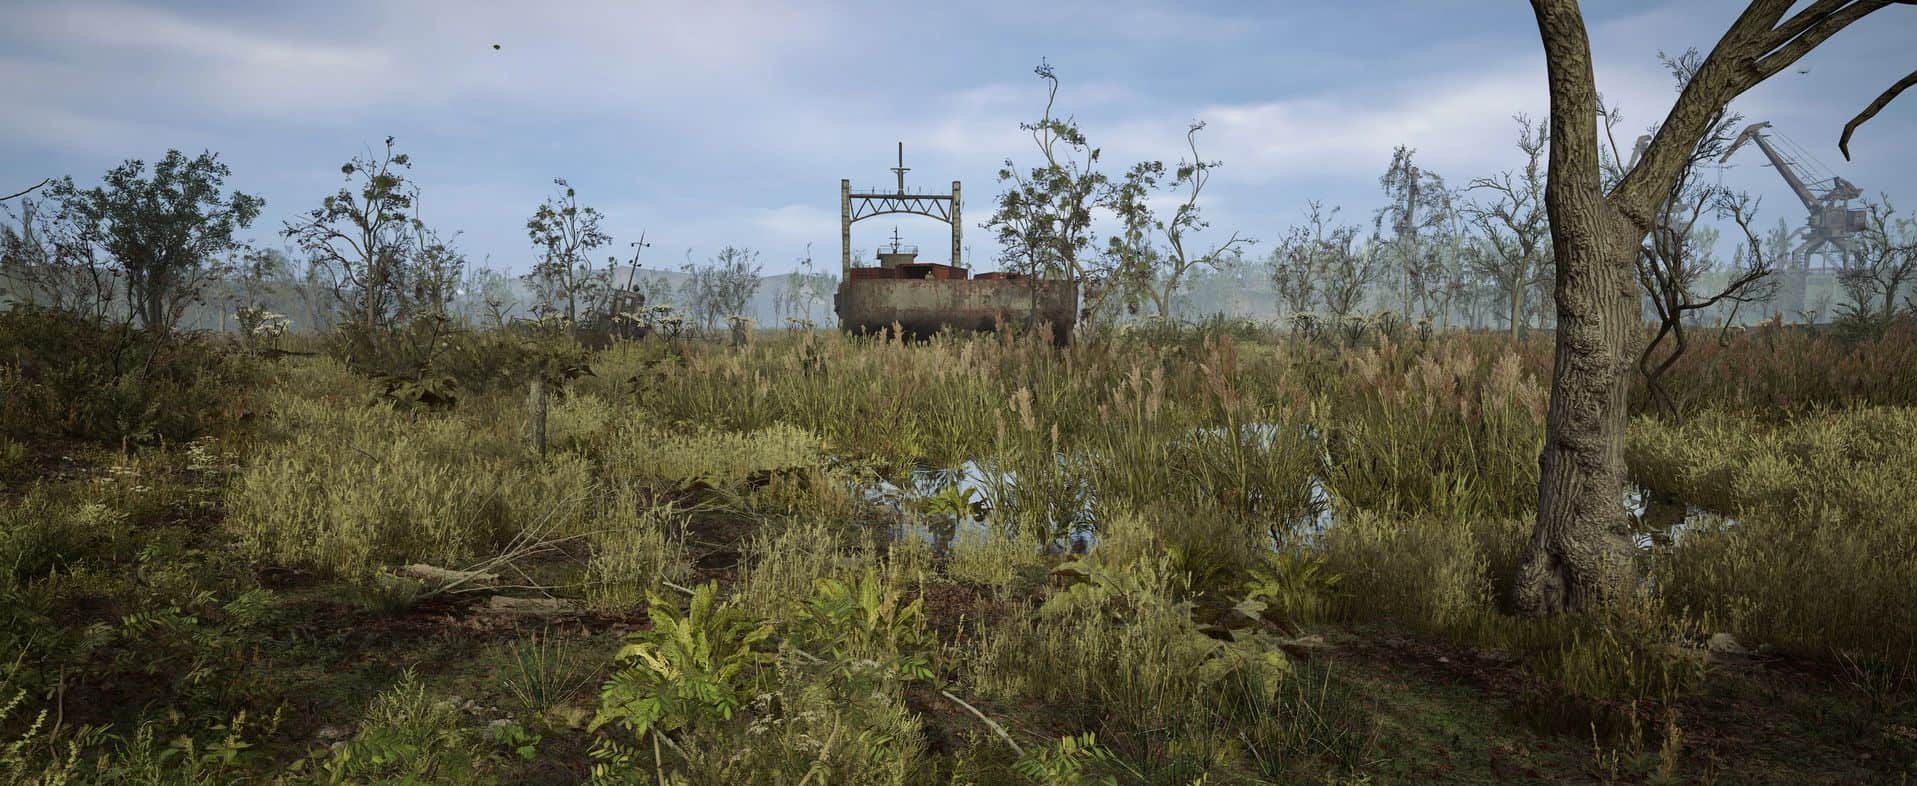
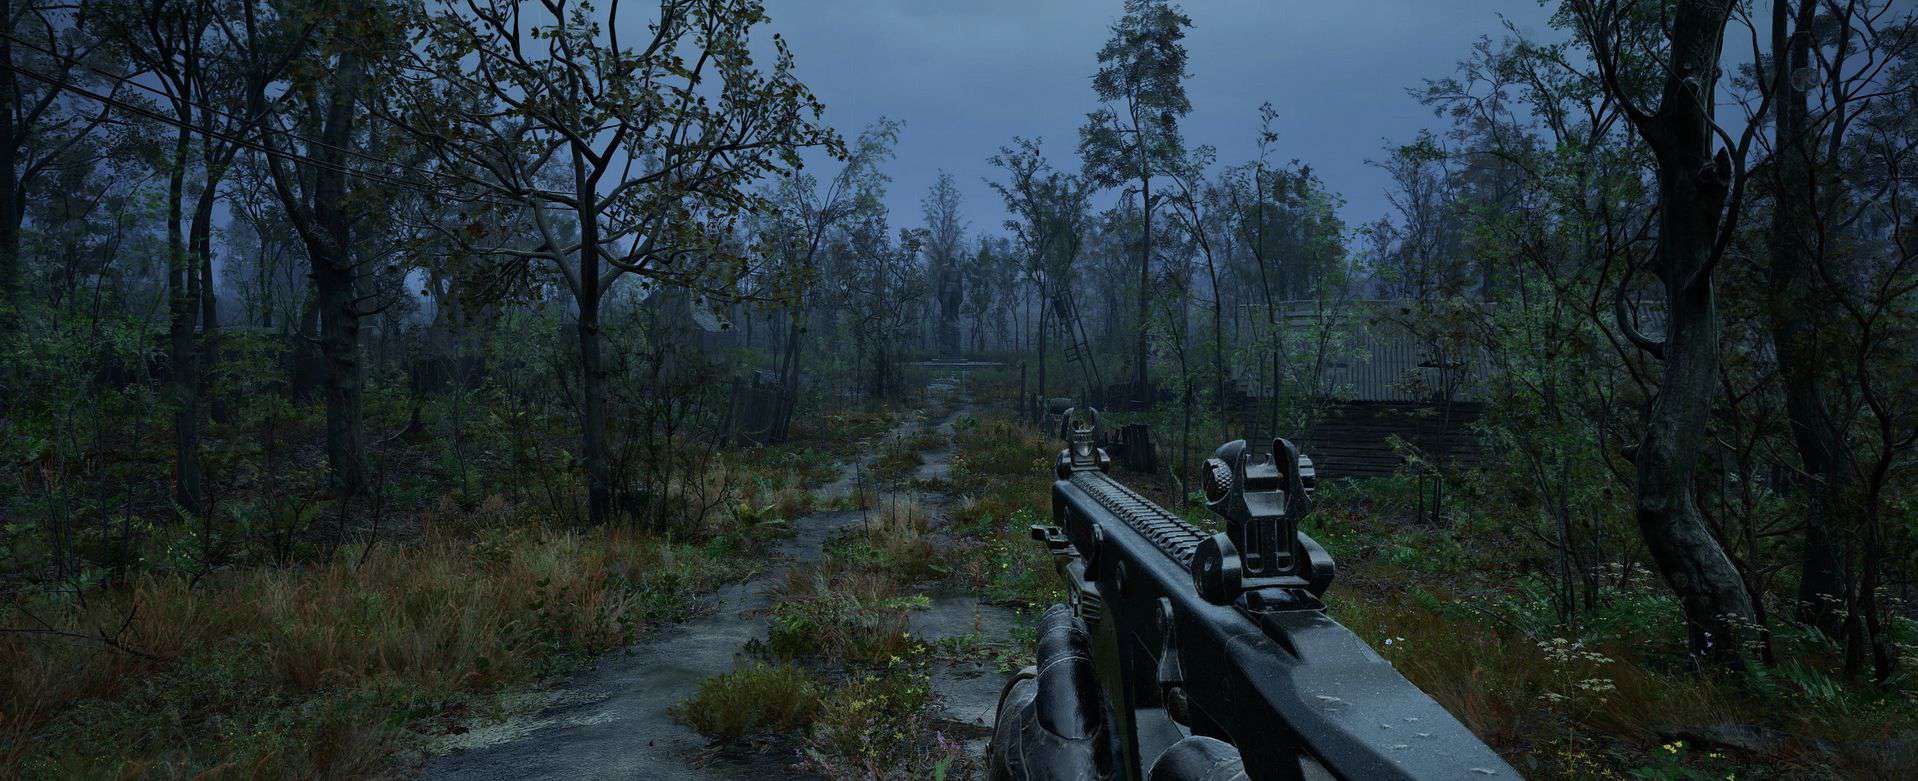
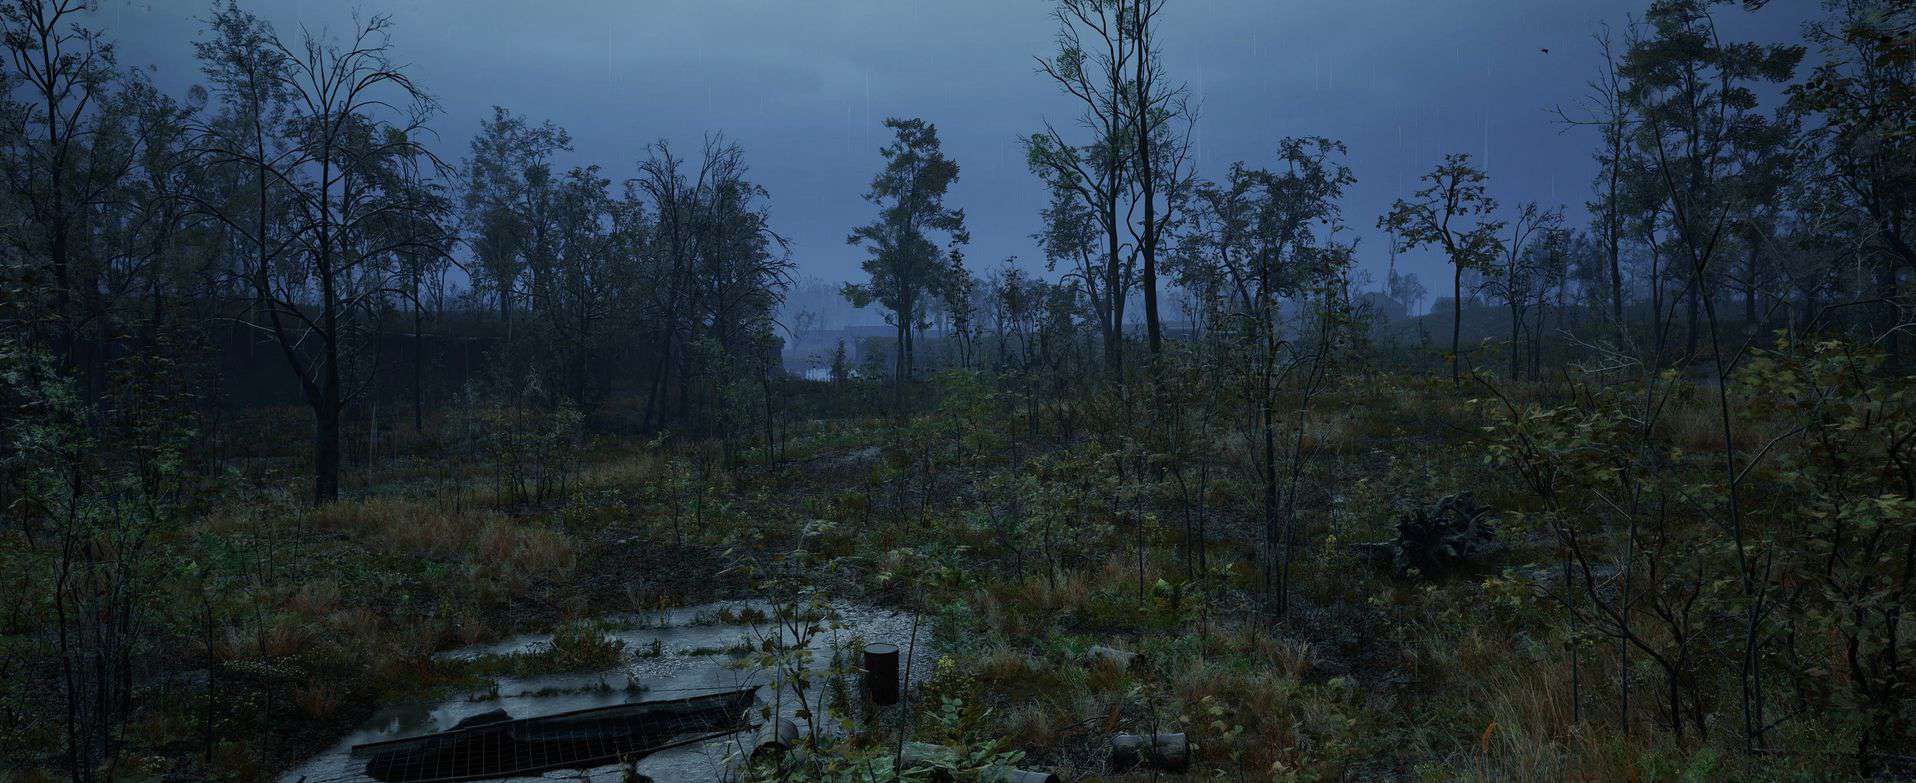
Luxor’s Reshade is a lightweight preset
which removes the sepia tinting to make the game
look more realistic.
Features:
LUT color correction
Enhanced lightning
Expect FPS loss: Around 1 – 2%
Installation:
1] Download the latest ReShade from https://reshade.me/
2] Download Luxor’s realistic Reshade file and extract.
3] Drag Luxor’s Reshade.ini into Stalker2\Binaries\Win64 where the exe file is located.
4] Start ReShade, search for the Stalker2-Win64-Shipping.exe, click on “Direct3D 10/11/12”,
install and where it asks to select an ini, browse and find Luxor’s Reshade.ini.
Then the installer will download the necessary files.
5] Open the LUT folder and drag the Stalker2 folder into your
Stalker 2 Heart of Chornobyl folder. Overwrite when prompted.
6] Start the Game, wait for the Shaders to load and press POS 1 to open the GUI.
7] Click “continue” and then on the upper right hand corner click in the “+” symbol.
8. Choose the Luxor’s Reshade Preset. You should now notice the Shaders activated.