

PhotoMode and Console Enabler v0.0.4
Mod add simple Photomode as well as enables in-game dev console.
INSTALL
1. STEAM: Go to your Steam Library, find “STALKER 2”, right-click, Manage -> Browse Local Files.
This is your game root folder.
2. Extract content of the zip-archive inside root folder. If you did everything correctly,
files “pakchunk222*”, “pakchunk55*” and “pakchunk99*” will be present inside
“Stalker2\Content\Paks\”.
3. Installation complete.
UNINSTALL
Delete aforementioned files
USAGE
Backspace :: FlyCam mode. Commands only work in this mode
WASD/LStick :: move
Mice/RStick :: look around
Z/X/R1/L1 :: move vertically up/down
E/Q :: Tilt camera left/right
R :: reset tilt
I/O :: fixed title roation
Shift+R :: reset all rotation
Shift/Alt :: speedup/slowdown during flycam
Ctrl+F1 :: teleport to current FlyCam location
Ctrl+F2 :: hide game UI during flycam
Ctrl+F3 :: pause game/world
Ctrl+F4 :: hide james
Ctrl+= :: speedup time
Ctrl+- :: slowdown time
Ctrl+0 :: reset time
F8 :: actor watch ON/OFF
F9 :: high-res screenshot. Stored in `%LOCALAPPDATA%\Stalker2\Saved\Screenshots`
F10 :: this will temporarily disable input to the free cam itself
F12 :: IMPORTANT! This restores input to the mod as a fallback after you change ANY game controls
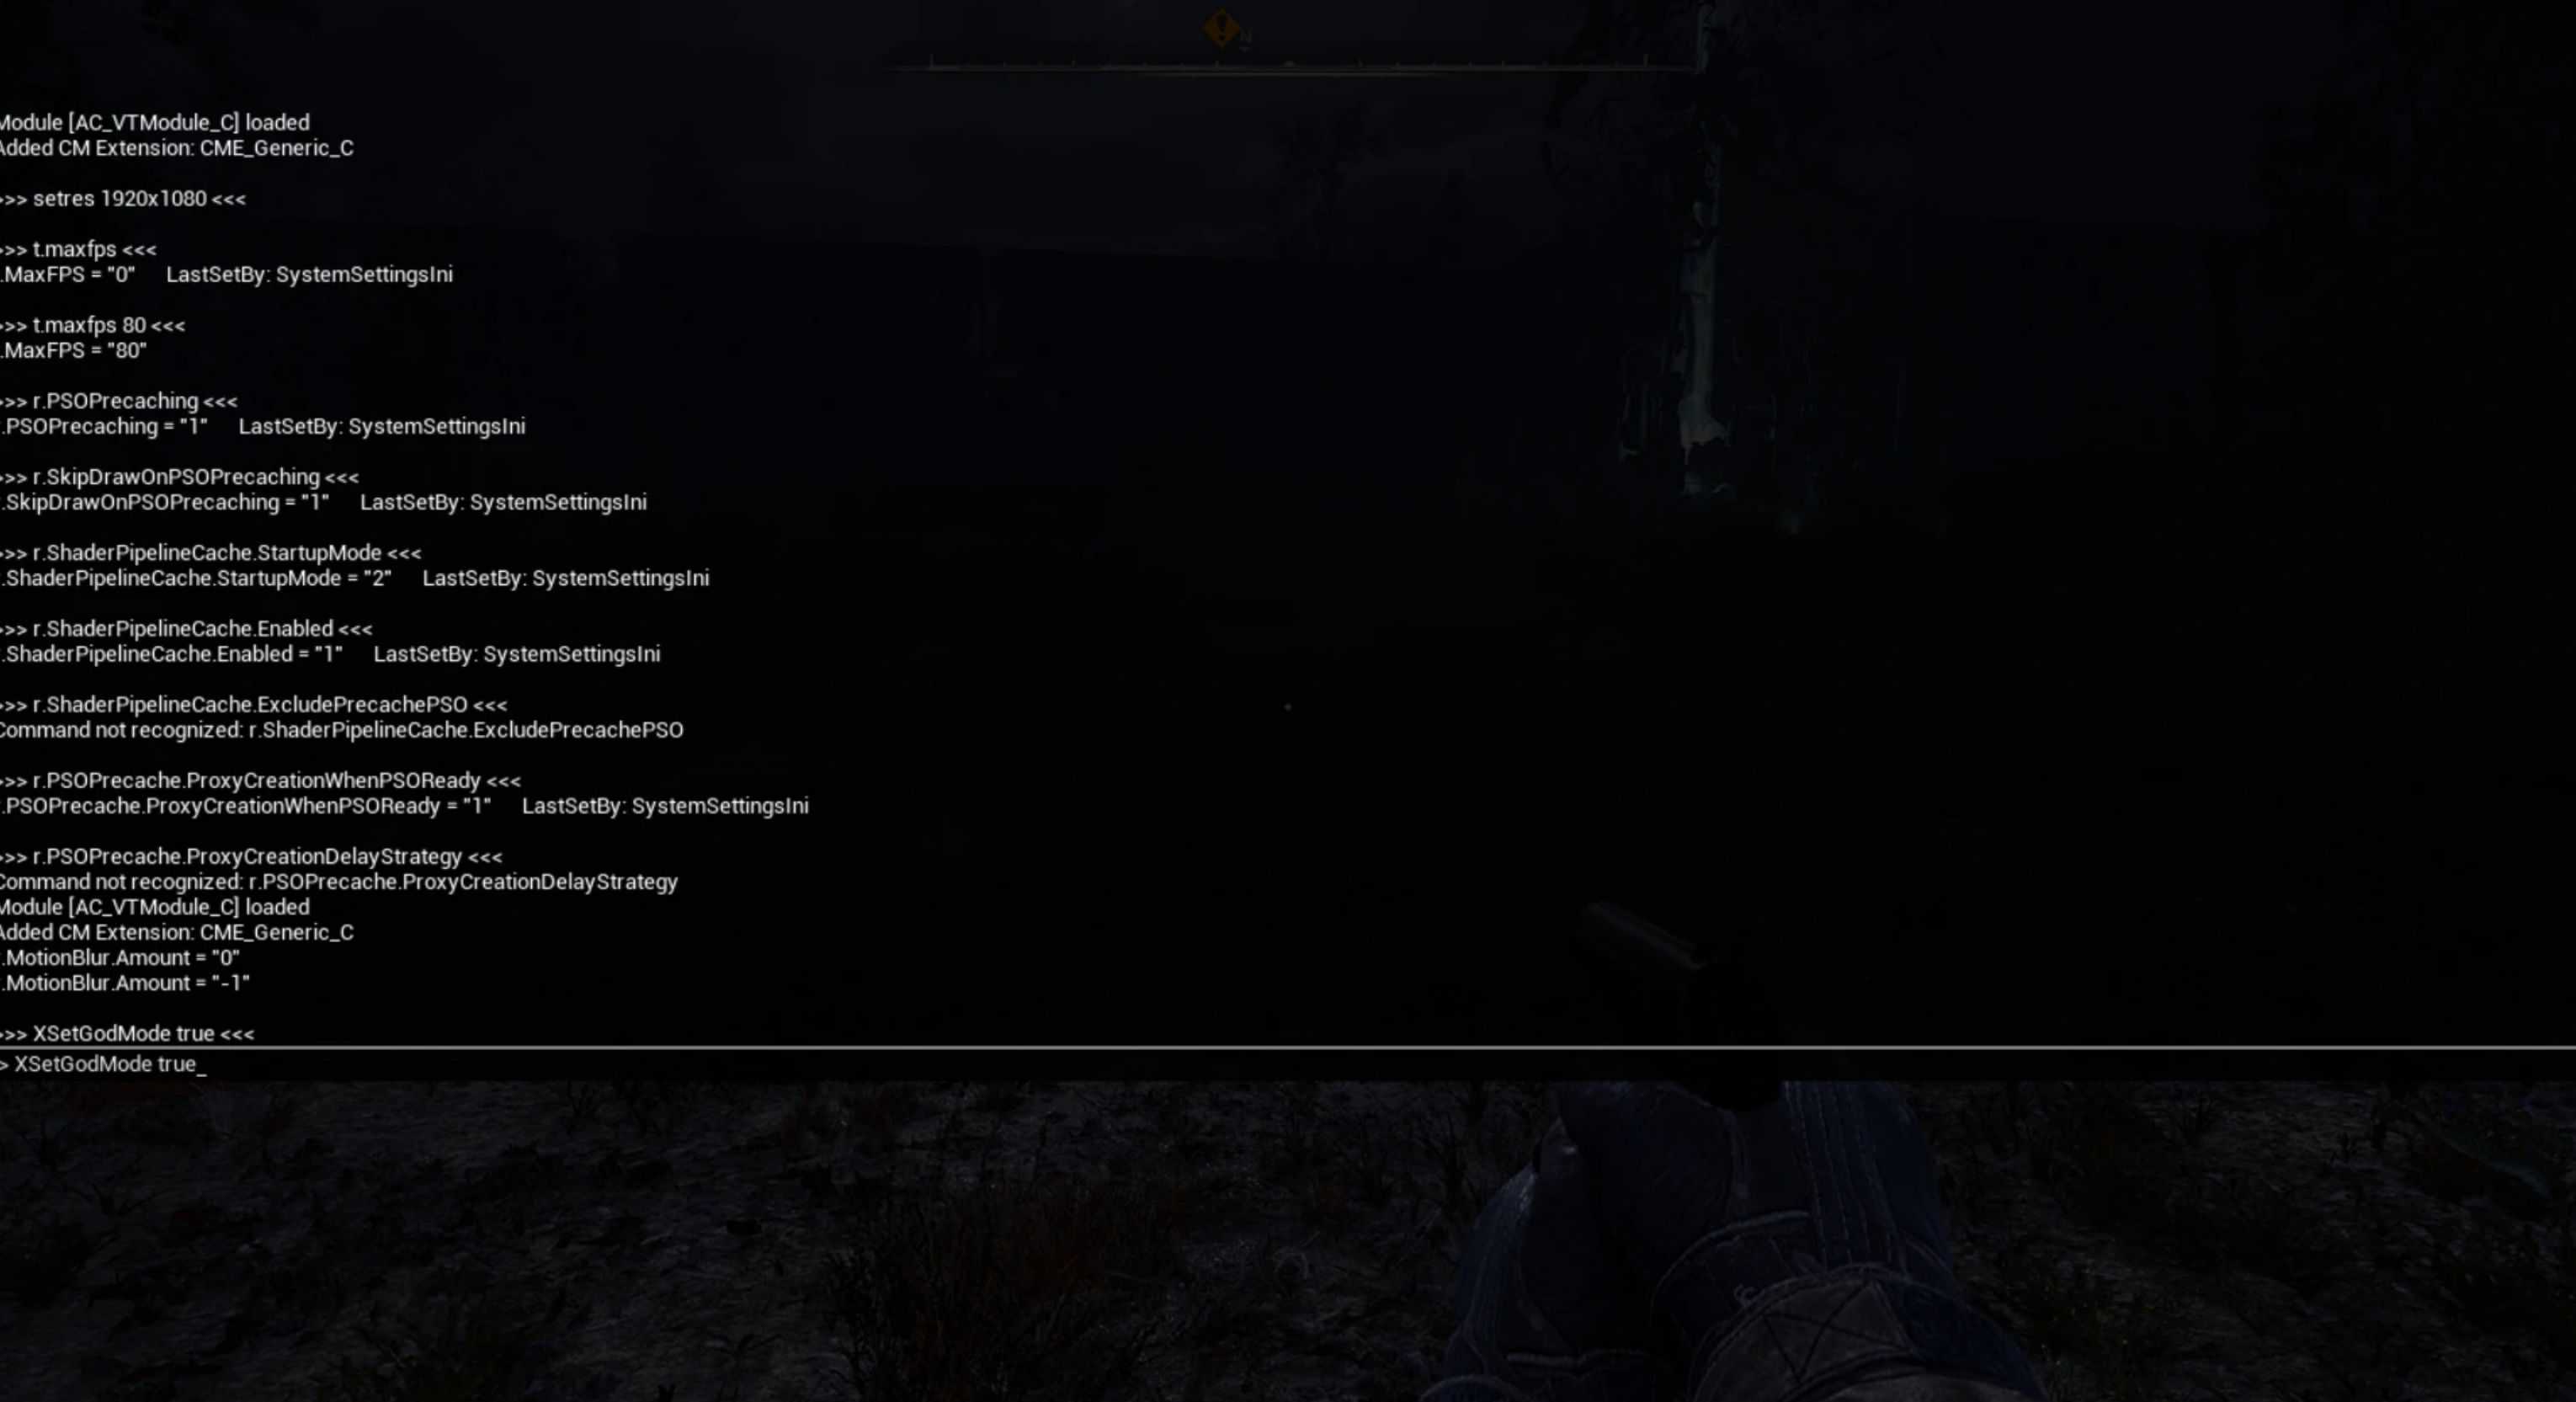
[~] :: developer console
CONSOLE COMMANDS
See console.txt for list of S2HOC specific commands
— Generic comands —
fov X – where X is desired fov value. To reset fov, use 0 as value
r.fog 0 – disable fog (1 to enable)
r.Lumen.Reflections.Allow 0 – this will simplify lighting
r.Lumen.DiffuseIndirect.Allow 0 – this will simplify lighting
r.DynamicGlobalIlluminationMethod 0 – this will simplify lighting
— S2HOC freecam module commands–
[setwatch]
Syntax: setwatch string_value
When you are in flycam mode you can add on-screen watch for specific actors, for example,
if you want to see all items near you, set watch via console command:
setwatch aset_class_path
and then press F8 (by default) to toggle watch ON/OFF)
In order to update watch for new location, just retoggle it and it will update cache.
[screenfolder]
Syntax: screenfolder
Will open an Explorer folder containing your screenshot (ALT+TAB to see it)
[vtconf]
Syntax: vtconf PropertyName Value
Allows you to configure FreeCam options live, at runtime. For example, if you want to temporarily
disable blocking input to game character, you can execute
vtconf bDisableGameInput False
To enable game input block again:
vtconf bDisableGameInput False
Accepted value are integers (1, 2), floats (1.0, 2.0) and booleans (true/false).
Check the config below to see which properties avilable and which type of value they are.
CONFIG
! An example `Engine.ini` file is included with the mod !
Open/create `Engine.ini` inside %LOCALAPPDATA%\Stalker2\Saved\Config\Windows\ folder.
Add the following sections:
MAIN CONFIG
[/Game/Mods/VTSpectator/ABPML_Mod_VTSpectator.ABPML_Mod_VTSpectator_C]
MovSpeed=1000.0 ; flycam movement speed
PitchSpeed=120.0 ; mouse/rstick pitch sensitivty
YawSpeed=150.0 ; mouse/rstick yaw sensitivity
TiltSpeed=100.0 ; tilt rotation speed
FixedTitlStep=15 ; fixed rot. step for tilt
FastMultiplier=3.0 ; fast speed mult. by LShift
SlowMultiplier=0.5 ; slow speed mult. by LAlt
AxisTolerance=0.01 ; if your movement/look behaves odd or sticky, increase this
GlobalFOVStep=5.0 ; step by which increase/decrease global FOV when using mouse wheel
ResolutionMultp=2.0 ; hi-res screenshot resolution multiplier
bDisableGameInput=True ; should we disable input to game character upon entering FreeCam mode?
bForceBlockInput=False ; a complimentary to previous option, used for edge cases when normal blocking fails
bRememberLastPos=False ; remember last used flycam position, instead of using player’s when enabling FlyCam?
bPauseGameOnCamMode=True ; should we pause game upon entering FreeCam mode?
bUnpauseGameOnCamExit=True ; should we unpause game upon exiting from FreeCam mode?
CommandsKey=LeftCtrl ; this is modifier key (only ALT/SHIFT/CTRL) used for commands like teleport, pause, etc
;ActionMappings= ; SEE BELOW, only add it if you plan to rebind default controls!
;AxisMappings= ; SEE BELOW, only add it if you plan to rebind default controls!
Module config (S2HOC module):
When I say “module” I mean the commands you excecute when you are in FlyCam mode
[/Game/Mods/VTSpectator/Core/Modules/AC_VTModule_S2HOC.AC_VTModule_S2HOC_C]
CopyCameraSettings=True ; when using bViaPosses mode, shall we try mimic game camera?
UseRawTeleport=False ; alternative teleport mode
TimeDilationStep=0.1 ; controls the step at which gamespeed is decreased/increased
Commands= ; see below
In general, configuration structure is fairly simple:
[Category]
Option=Value ;comment
ALL options have defaults, that means, you only need to add an option you want
to change, the rest will stay at their default values (see defaults above). So,
for example, this is enough if you only want to change movement speed:
[/Game/Mods/VTSpectator/ABPML_Mod_VTSpectator.ABPML_Mod_VTSpectator_C]
MovSpeed=500.0
CONTROLS REBINDING
This is for advanced users. READ CAREFULLY, this is your only source on
how to do so, there is no live support.
List of valid UE keynames:
https://nerivec.github.io/old-ue4-wiki/pages/list-of-keygamepad-input-names.html
BASIC ACTIONS:
This mod allows you to rebind default controls to either keyboard or
XPad. This is done via the same config above. Keybind format is split
into 2 categories for basic input: ActionMapping and AxisMapping.
In order to add/replace default, you simply add relevant line to either
“ActionMappings” or “AxisMappings” property in the config, for example:
[/Game/Mods/VTSpectator/ABPML_Mod_VTSpectator.ABPML_Mod_VTSpectator_C]
; some other options here
ActionMappings=(ActionName=”VTToggleSpectator”,bShift=True,Key=F1)
ActionMappings=(ActionName=”VTSpeedUp”,Key=RightShift)
AxisMappings=(AxisName=”VTMoveForward”,Scale=1.0,Key=O)
This will change the bindings to toggle flycam from BACKSPACE
to SHIFT+F1, changes SpeedUp key to RightShift instead and, finally,
changes MoveForward input to “O”, instead of “W”. Do note that unlike
plain options, the input ones have to be repeated, because they are
additive, i.e. two subsequent “ActionMappings” definitions do NOT
override each other, they complement.
Here is all default values:
; ACTIONS
ActionMappings=(ActionName=”VTToggleSpectator”,bCtrl=False,bShift=False,bAlt=False,Key=Backspace)
ActionMappings=(ActionName=”VTSpeedUp”,Key=LeftShift)
ActionMappings=(ActionName=”VTSlowDown”,Key=LeftAlt)
ActionMappings=(ActionName=”VTRestore”,bShift=True,Key=Escape)
ActionMappings=(ActionName=”VTRestoreCamTilt”,Key=R)
ActionMappings=(ActionName=”VTResetRotation”,bShift=True,Key=R)
ActionMappings=(ActionName=”VTZoomReset”,Key=MiddleMouseButton)
ActionMappings=(ActionName=”VTToggleWatch”,Key=F8)
ActionMappings=(ActionName=”VTHiResScreenshot”,Key=F9)
ActionMappings=(ActionName=”VTBlockOwnInput”,Key=F10)
;AXIS
; keyboard
AxisMappings=(AxisName=”VTMoveForward”,Scale=1.0,Key=W)
AxisMappings=(AxisName=”VTMoveBackwards”,Scale=-1.0,Key=S)
AxisMappings=(AxisName=”VTMoveRight”,Scale=1.0,Key=D)
AxisMappings=(AxisName=”VTMoveLeft”,Scale=-1.0,Key=A)
AxisMappings=(AxisName=”VTCamUpDown”,Scale=1.0,Key=MouseY)
AxisMappings=(AxisName=”VTCamLeftRight”,Scale=1.0,Key=MouseX)
AxisMappings=(AxisName=”VTCamTiltLR”,Scale=1.0,Key=Q)
AxisMappings=(AxisName=”VTCamTiltLR”,Scale=-1.0,Key=E)
AxisMappings=(AxisName=”VTMoveUp”,Scale=1.0,Key=Z)
AxisMappings=(AxisName=”VTMoveDown”,Scale=-1.0,Key=X)
AxisMappings=(AxisName=”VTZoom”,Key=MouseWheelAxis)
; gamepad
AxisMappings=(AxisName=”VTCamUpDown”,Scale=1.0,Key=Gamepad_RightY)
AxisMappings=(AxisName=”VTCamLeftRight”,Scale=1.0,Key=Gamepad_RightX)
AxisMappings=(AxisName=”VTMoveLeft”,Scale=-1.0,Key=Gamepad_LeftStick_Left)
AxisMappings=(AxisName=”VTMoveRight”,Scale=1.0,Key=Gamepad_LeftStick_Right)
AxisMappings=(AxisName=”VTMoveBackwards”,Scale=-1.0,Key=Gamepad_LeftStick_Down)
AxisMappings=(AxisName=”VTMoveForward”,Scale=1.0,Key=Gamepad_LeftStick_Up)
AxisMappings=(AxisName=”VTMoveUp”,Scale=1.0,Key=Gamepad_RightTriggerAxis)
AxisMappings=(AxisName=”VTMoveDown”,Scale=-1.0,Key=Gamepad_LeftTriggerAxis)
So, to put it simply, you can just replace the key name string in the binding
and add it to the config. Just make sure to avoid changing “ActioName”! You can
change axis “Scale”, if you desire, for example, to invert mouse-look or left-stick,
i.e. changing `1.0` in `VTCamUpDown` to `-1.0` will invert mouse lookup.
MODULE COMMANDS
Module rebinding slightly differs from basic actions. First, you need to
define “CommandsKey” in the general config above. By default it is “LeftCtrl”,
and this key only accepts keyboard modifier keys: CTRL, ALT, SHIFT
Then, you can change the chord key used for module commands, such as Teleport
or Hide UI. Chord means it has to be used in pair to be triggered, for example,
default binding for “Teleport” is CTRL+F1, which means you have to first press
“LeftCtrl” and then, while keeping it down, press F1.
Here is full config for S2HOC Module (do note that category path is separate for module!):
[/Game/Mods/VTSpectator/Core/Modules/AC_VTModule_S2HOC.AC_VTModule_S2HOC_C]
Commands=((Equals, “TimeDilationUp”),(Hyphen, “TimeDilationDown”),(Zero, “TimeDilationReset”),(F1, “Teleport”),(F2, “HideUI”),(F3, “TogglePause”))
As you can see, this one can be defined in a single line and only accepts
the final chord key, the first key – modifier – you specify in the base
config for the mod.
KNOWN ISSUES
– in progress
HOW TO REPORT ISSUES
– descibe exact steps/what you did that lead to the bug
– provide savegames before and after if possible (%LOCALAPPDATA%\Stalker2\Saved\)
CHANGELOG
– v0.0.4 – added all UE cvras and S2HOC item IDs lists
– v0.0.3 – fixed mod not reloading on save reload
– v0.0.2 – added photomode, console commands
– v0.0.1 – Initial release

