

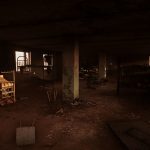
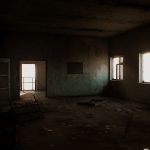
R.A.D.I.A.N.C.E
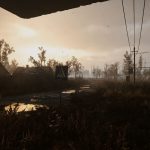
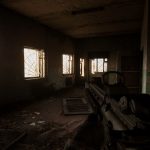
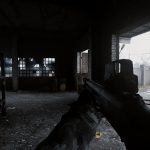
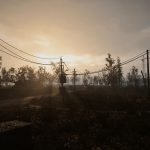
R.A.D.I.A.N.C.E is a simple, yet thought-out ReShade preset for S.T.A.L.K.E.R. 2: Heart of Chernobyl
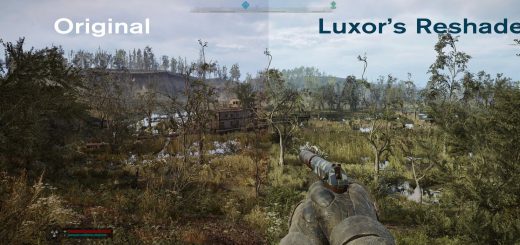
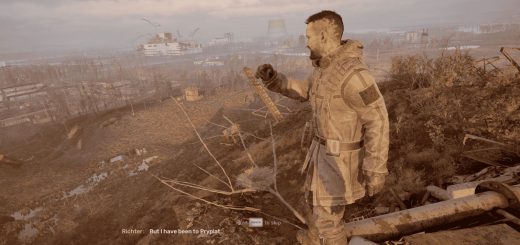
This ReShade preset maximises visual fidelity and performance simultaneously. I chose to use minimal shaders to make a substantial impact while respecting the creator’s intent.
I’m using an AMD Ryzen 7 5700X, GIGABYTE RTX 4070 12GB OC, and 32GB of DDR4 3600MHz RAM, and I only lose around 1-2 FPS with this preset. If you notice FPS drops with other shaders and effects, it’s likely due to increased frame latency. I’ve carefully selected effects that avoid adding to the frame latency.
This preset is ideal for anyone looking for a small but impactful increase in visual fidelity while playing the game as it was intended, without sacrificing the smoothness of your experience.
INSTALL:
This guide has been carefully written to ensure you don’t miss any key installation steps. If you need further help, even with this tutorial, I recommend looking elsewhere online.
STEP 1 – Download ReShade from their website at “https://reshade.me/”.
STEP 2 – Double-click the downloaded .exe, then find the S.T.A.L.K.E.R. 2: Heart of Chernobyl .exe at STALKER 2 Heart of Chernobyl\Stalker2\Binaries\Win64\Stalker2-Win64-Shipping.exe and select it.
STEP 3 – Choose the appropriate DirectX version. This will be DirectX 10/11/12 for S.T.A.L.K.E.R. 2: Heart of Chernobyl.
STEP 4 – Select my preset file, which is named “R.A.D.I.A.N.C.E.ini” in the downloaded folder. When prompted, do not tick or untick any shaders or effects; just press “Continue.”
STEP 5 – Once installed, drag the contents of the “REPLACE” folder into the location of the .exe from earlier. If prompted to replace, select “Yes.” This step is optional, but it preconfigures ReShade for optimal performance.
Required
https://reshade.me/
FINISHING TOUCHES:
Now, let’s make sure everything is working.
Press the “Home” key to access the ReShade menu.
The “End” key should toggle the preset on/off. If it doesn’t, set this in ReShade’s options.
Press the “Delete” key to reload the preset if you encounter issues. If it doesn’t work, set this in ReShade’s options.
In the “Add-ons” tab at the top, make sure “Depth Detection” is disabled. This improves performance, as my preset does not use the depth buffer.
Tick “Enable only active effects” in ReShade’s options to help with start-up time.
Finally, enable “Performance Mode” in the bottom-right corner to complete the R.A.D.I.A.N.C.E. installation.
I hope you enjoy my work and have a fantastic time playing S.T.A.L.K.E.R. 2: Heart of Chernobyl!
Thanks to GSC Game World and, of course, the ReShade team!

